Good video-call lighting comes down to one rule: your brightest light source needs to be in front of your face, not behind it. Get that one thing right and most of the “shadowy figure on Zoom” or “blinded by glasses glare” problems solve themselves without any studio gear.
You’ve probably felt this without knowing the cause: harsh shadows, backlighting, or a general “I look exhausted” vibe on camera. In this guide, I’ll start with a few simple, fast fixes you can apply right now, then walk through two- and three-point setups that make you look polished on any call, from a quick Teams sync to a big pitch on Google Meet.
The 30-Second Setup (for a call starting now)
If you have a video call starting in a few minutes, use these quick tips for a fast and effective lighting upgrade:
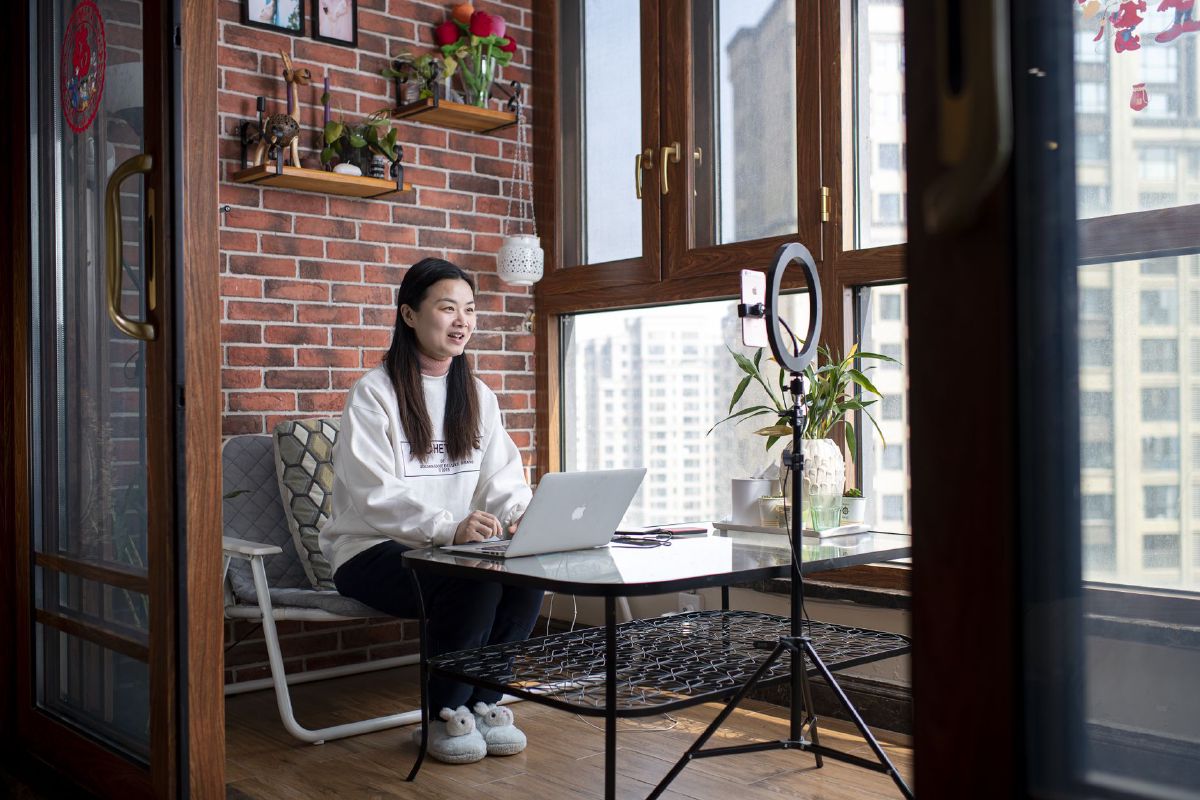
- Face your brightest source. Position your desk so a window or lamp is in front of you, slightly above eye level. This brightens your face and eliminates harsh, unflattering shadows. For more detail, see my guide to layering lighting and desk layout in a home office.
- Angle your light. If you wear glasses, move your main light source slightly off-axis (about 30-45°) to prevent distracting glare. Bouncing the light off a wall can also help.
- Dim or turn off backlights. Keep your background a little darker than your face. Turn off any harsh overhead can-lights or lamps behind you that create a “halo” effect or silhouette.
- Check your color. If you have a smart bulb or adjustable light, set it to a cooler “daylight” color temperature (around 5000-5600K) to avoid a yellow or orange cast on your face.
Why Lighting Matters More Than Your Webcam
Even the most expensive 4K webcam will produce a grainy, unprofessional image if your lighting is poor. That’s because your webcam’s sensor needs light to see you. It automatically adjusts its exposure to the brightest area in the frame.
When the brightest source of light is behind you, your webcam exposes for that light, and your face ends up dark and underexposed: the classic backlighting problem. But when you have a bright, soft source of light in front of you, your webcam exposes for your face, and you look crisp, clear, and well-lit.
Two Easy Home Setups (with diagrams)
Once you’ve mastered the 30-second fix, you can take your lighting to the next level with a simple two- or three-point lighting setup. These principles are used by professional videographers, but you can achieve a similar effect at home with just a couple of lamps.
Two-Point Lighting (most homes)
This simple setup uses two lights to create a flattering look that eliminates shadows without a professional studio.
- Key light: Your main light source. Place it in front of you, angled about 30-45° to one side and slightly above your eye line. This light provides most of the illumination on your face. For the softest light, bounce it off a nearby wall.
- Fill light: A secondary, dimmer light on the opposite side. The fill light reduces shadows created by the key light, softening your look and creating more even illumination.
If you have a tiny room, you can still achieve a soft, flattering effect by bouncing both lights off the wall in front of you.
Three-Point Variant (if you have space)
For an extra professional touch, you can add a third light. This “hair light” or “backlight” separates you from the background and prevents you from blending in.
- Hair/back light: Position this light behind you, aimed at your shoulders and the back of your head. Keep it gentle and dim: it should create a subtle rim of light, not a blinding halo.
Troubleshooting by Scenario
Not every space is the same. Here are some solutions for common video call lighting problems.
- Glasses glare: This is often caused by a “point source” of light (like an LED bulb) aimed straight at your lenses. To fix it, raise your light source above your eye line, move it off-axis (the 30-45° trick works great), or bounce the light off a wall. Wearing glasses with anti-reflective coatings also helps.
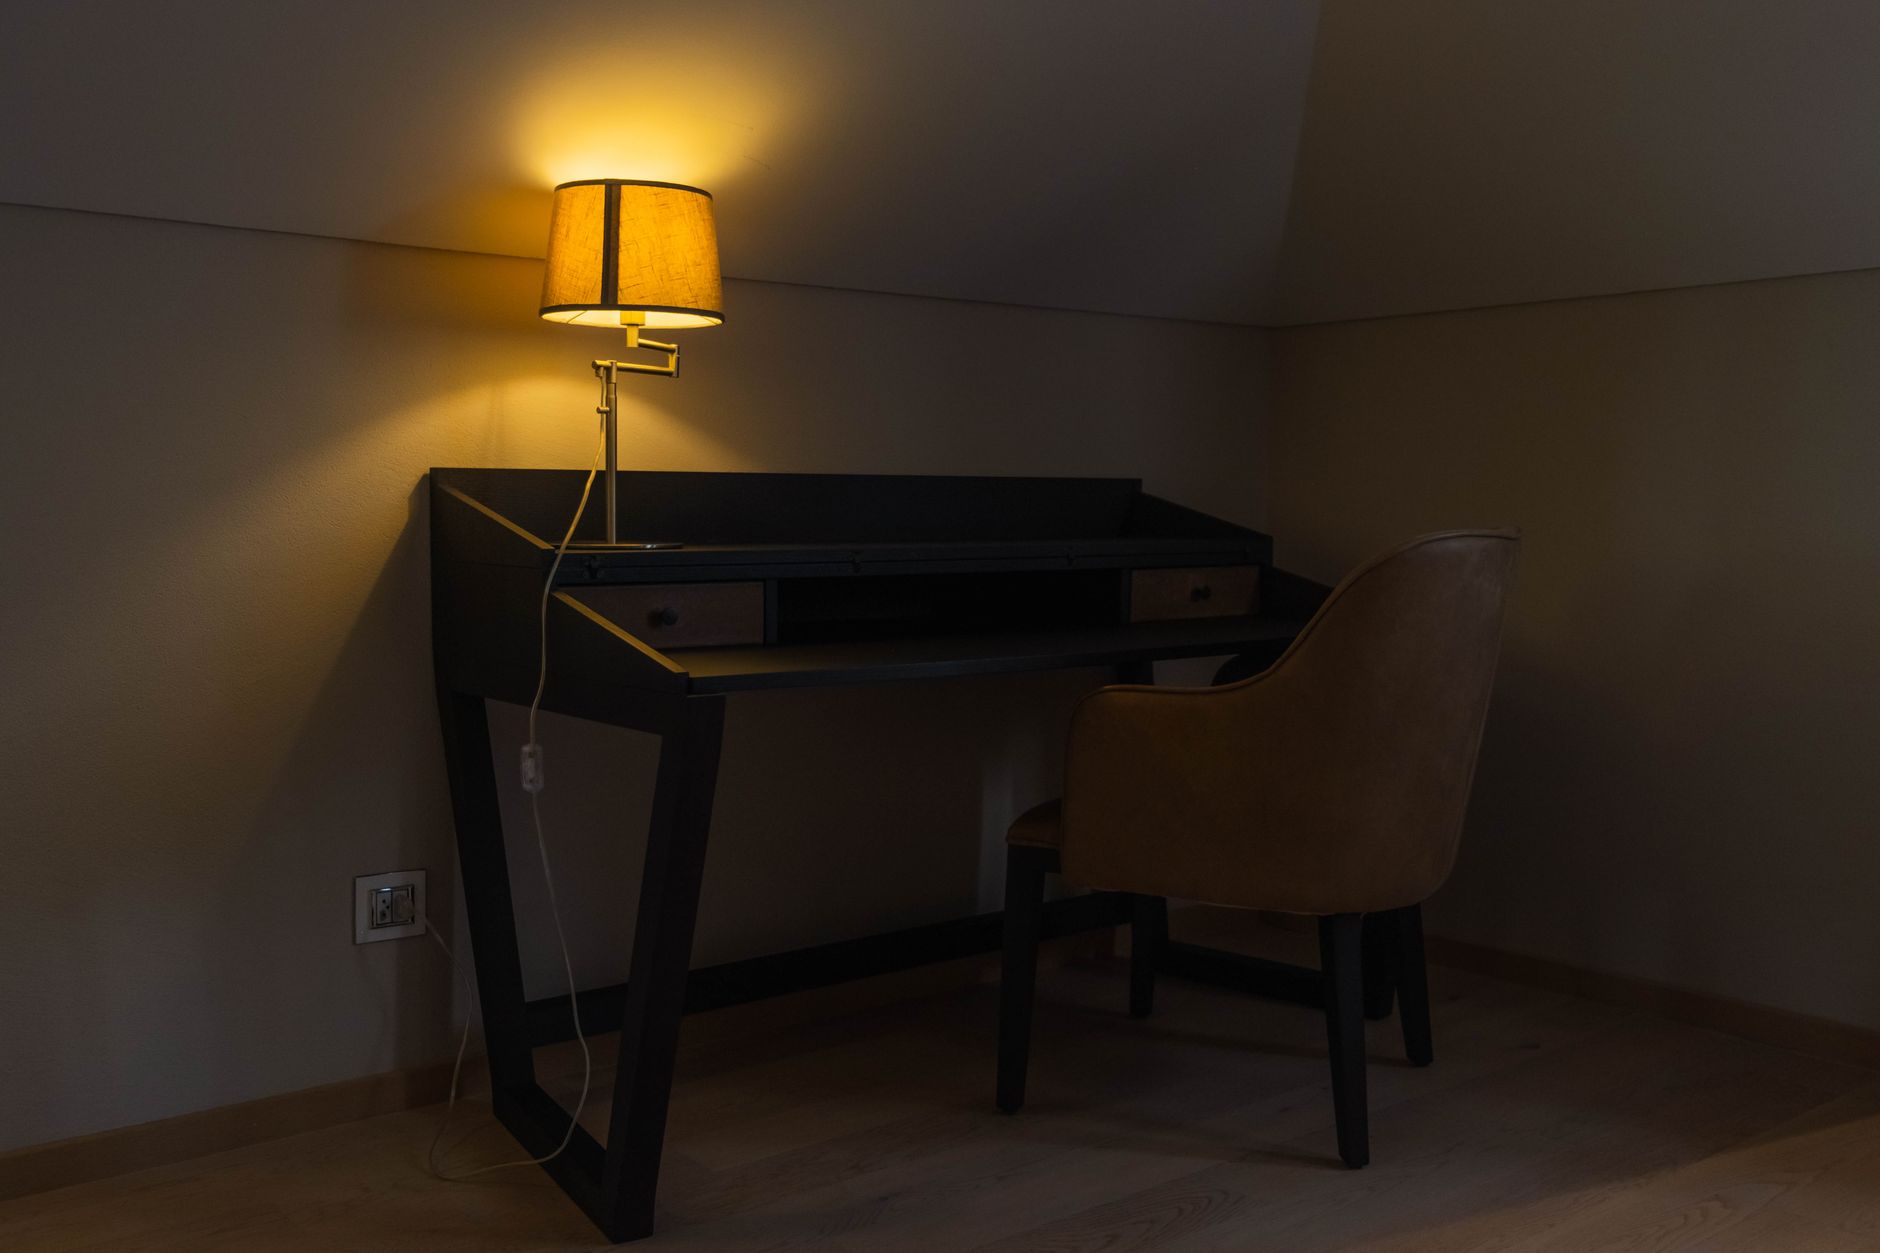
- Windowless cave: If you have no windows or natural light, aim two diffuse light sources (like lamps with shades) at the wall in front of you. Match the color temperatures of your lights, and keep the background slightly dimmer than your face.
- Harsh overheads/backlight: The fastest fix is to rotate your desk so your webcam faces a window or another light source. If that’s not possible, turn off any can-lights or bright ceiling fixtures during your call.
Gear You Already Own vs. Simple Upgrades
My honest first move costs nothing: a desk lamp you already own, fitted with a “daylight” bulb (5000-5600K) and aimed at your face through a shade or bounced off a wall, gets most people 80% of the way to looking professional on camera. Diffusion matters more than wattage here: a bare bulb pointed straight at your face reads as harsh no matter how bright the spec sheet claims it is.
If you’re ready to buy something, I’d pick one of two directions depending on how you actually use the desk:
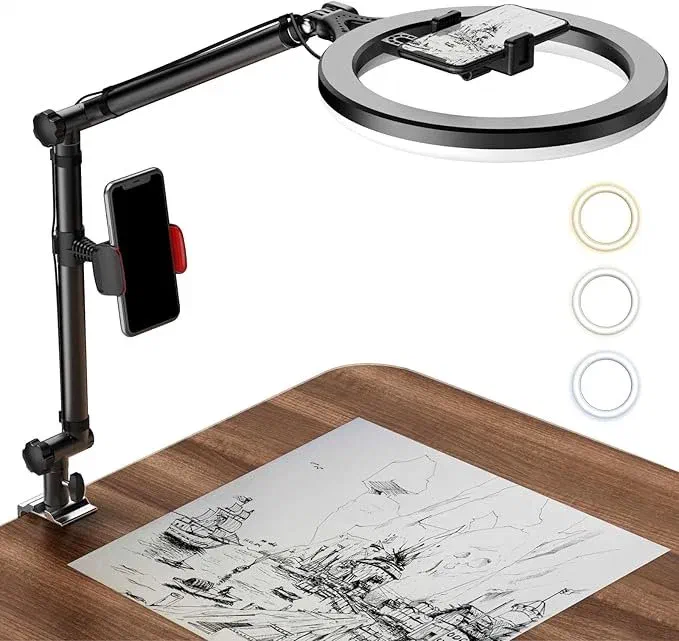
If video calls are the whole reason you’re buying, go for a ring over a lamp. Encircling the camera with light is what kills the half-shadowed, side-lit look, and the LUOLED 10" clamp-on ring light does it without a tripod cluttering the desk: warm, white, and cool modes, a ten-step brightness ladder, and a wired remote you can nudge mid-call without leaning out of frame. There’s a phone cradle in the centre for anyone calling from a phone instead of a webcam.
 $42.99 price as of Oct 20
Worth knowing: once the call ends it’s dead weight. A ring aimed at your face is no use as a work light, so it earns its clamp space only if meetings are a daily fixture rather than a weekly one.
- Where to buy: Buy the LUOLED Ring Light on Amazon for around $35-40.
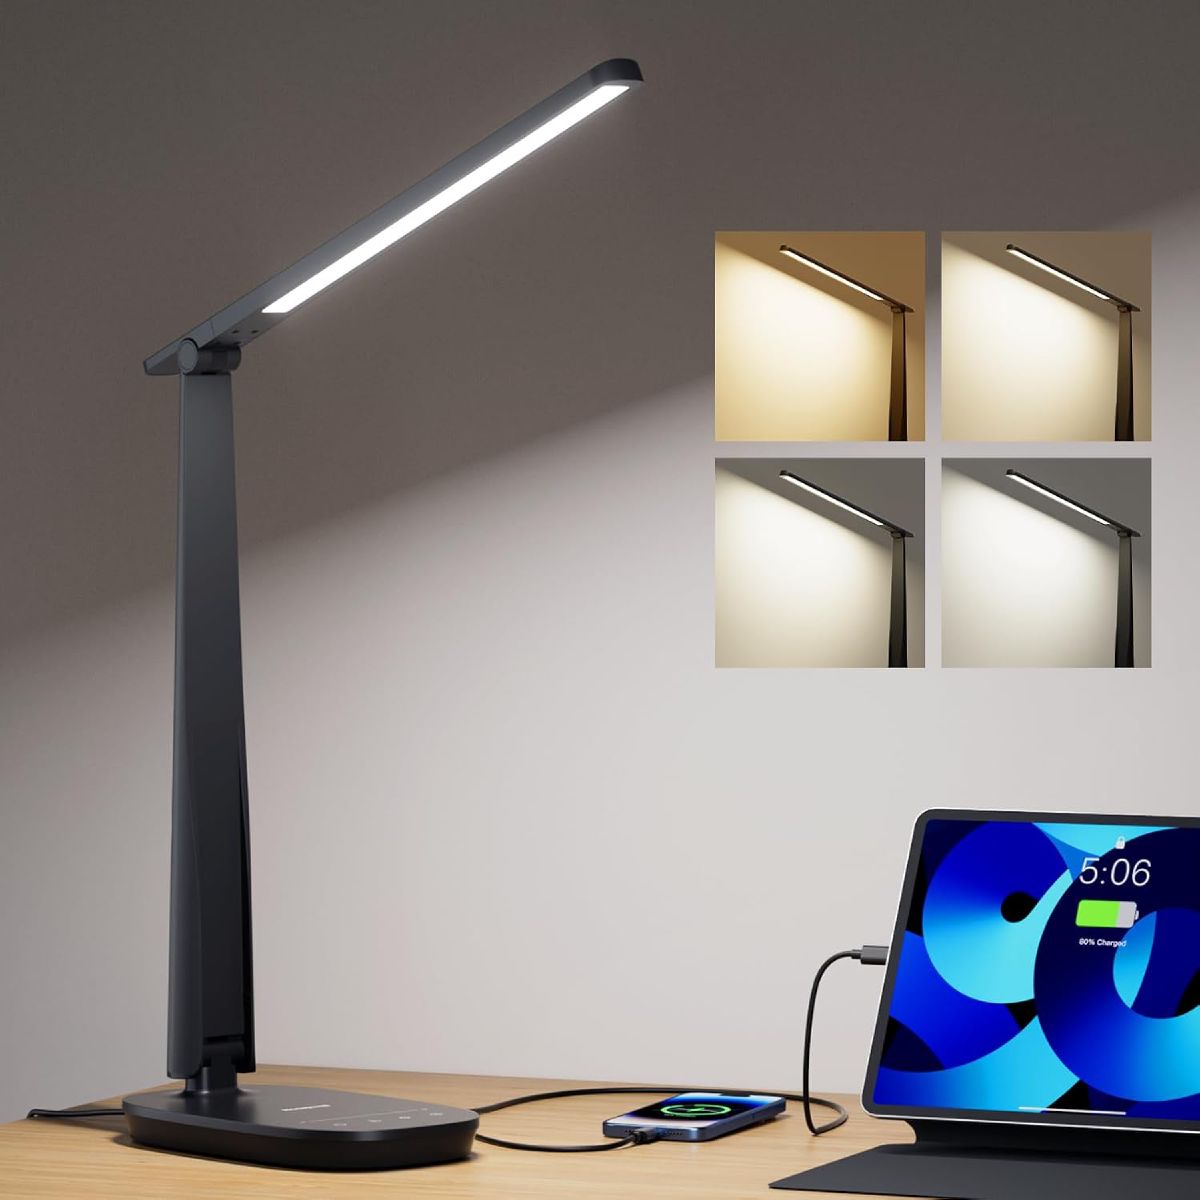
If you’d rather have one lamp that pulls double duty as your everyday desk light and your video-call fill, the Honeywell LED Desk Lamp is my pick for that job. On camera, colour fidelity is what keeps skin tones from going grey, and this is one of the few budget lamps that publishes the relevant number (CRI ≥94) instead of quietly omitting it. Slide its 2700K-5700K modes toward daylight when the meeting starts, then back to warm once you’re off the call. A 4.8-star average from 857 buyers says it earns its keep as a lamp first, camera gear second.
 $30.59 price as of Oct 23
One caveat: fill light flatters most from a little distance, and the folding arm keeps this lamp close to the monitor: fine at a compact desk, but you can’t push it back for a softer, farther-off key light the way a swing-arm allows.
- Where to buy: Buy the Honeywell LED Desk Lamp on Amazon for under $35.
For the wider field, my 10 Best Desk Lamps for Home Offices round-up covers the rest of the shortlist beyond these two video-call-specific picks.
Settings & Background Tweaks (60 seconds)
Once you’ve positioned your lights, take a moment to adjust your camera settings and background.
- Camera settings: If your video app has a brightness or exposure slider, use it to fine-tune your look. Set your white balance to “Auto” or “Daylight” and avoid mixing warm (orange/yellow) and cool (blue/white) light sources, as this can confuse your camera.
- Background: Neutral wall colors like white, beige, or gray are camera-friendly. Avoid bright, saturated hues that can skew your skin tones. Keep your background tidy and well-organized, but slightly dimmer than your face so you remain the focus.
Quick Checklist (printable)
- Is your main light source in front of you and slightly above eye level?
- If you wear glasses, is the light angled 30-45° off-axis to prevent glare?
- Have you turned off harsh overhead or background lights?
- Is your background a little darker than your face?
- Is your main light source diffused (e.g., through a shade or by bouncing off a wall)?
- Are you using a “daylight” color temperature (around 5000-5600K)?
FAQs (based on real questions)
Do I need a ring light, or will a lamp work?
A lamp with a shade can work perfectly well! The goal is soft, even, flattering light. A ring light is a simple, all-in-one solution, but a household lamp can achieve a similar effect.
How do I stop reflections on my glasses?
The best fixes are to raise your light source above your eye line or move it off-axis, angled about 30-45° away from your face. Bouncing the light off a wall also helps.
What if I’m stuck with a window behind me?
The simplest solution is to rotate your desk so you are facing the window. If that’s not an option, you need a brighter key light in front of you to overpower the light coming from behind.
What color temperature is best?
A “daylight” or “cool white” color temperature (around 5000K to 5600K) is a safe bet, as it mimics natural light and provides the most accurate skin tones.
How bright should my lights be?
Most modern webcams automate this. The best rule is to ensure your face is the brightest point in the frame, and the light is soft enough that it doesn’t create harsh shadows.
Where this fits next
Video-call lighting is one slice of a bigger home-office lighting plan. For the full ambient/task/accent picture, see my Ultimate Guide to Home Office Lighting. If your desk’s position (not just your lamp) is fighting you, my Best Desk Placement in Your Home Office guide covers the window-facing, side-on, and back-to-window trade-offs in more depth, including its own picks for a monitor light bar and a dedicated fill light.