The short version: measure your run before you buy, match the strip’s voltage to its power supply, cut only at the marked copper pads, and mount with aluminum channel rather than bare adhesive if the surface is textured, painted, or the run is somewhere you’ll actually look at closely. Get those four things right and everything else in this guide is refinement.
I’d reach for LED strips for a home office, an under-cabinet kitchen run, or a bedroom headboard glow alike; the planning and mounting steps below are the same regardless of room. This guide walks you through every step, from choosing the right gear to the final mount and troubleshooting the mistakes I see most often. You don’t need to be an electrician. Just follow the sequence below.
Before You Start: Quick Checklist
A little prep work goes a long way. Use this checklist before you begin.
Measure your space. Use a tape measure to get accurate lengths for all the runs you plan to install.
Choose your voltage (12V or 24V). The voltage of your strips and power supply must match, and 24V is often the better choice for longer runs because it reduces the need for power injection.
Gather your tools:
- Tape measure
- Wire strippers
- Scissors or utility knife
- Isopropyl alcohol (rubbing alcohol)
- Multimeter (optional, but very helpful for troubleshooting)
- Solder and soldering iron (optional, but provides the most secure connections)
- Snap-on connectors (a no-solder alternative)
Prepare your surface. Clean it with isopropyl alcohol to remove dust and oils, or the adhesive won’t stick properly.
Choose the Right Strip for the Job (Brightness & Style)
The type of LED chip and its density determine the brightness and visual effect of your lighting, and strips vary a lot on both.
Chip Density & Types
The most common LED chip types you’ll encounter are 2835, 3528, 5050, and COB (Chip on Board). Each has trade-offs in brightness, energy efficiency, and light quality.
- 2835 and 3528 are smaller, less bright chips. Strips with a high density of them (60 or 120 LEDs per meter) can produce a smooth, continuous line of light.
- 5050 chips are larger and brighter, often containing three diodes in one chip, which suits brighter task lighting. They can produce a more noticeable “dotting” effect, though.
- COB (Chip on Board) is a newer technology: many tiny LED chips are mounted directly onto the circuit board and covered with a phosphor coating. This creates a completely seamless, dot-free line of light even without a diffuser, so it’s my pick for visible installations where you want a clean, professional finish.
Plan Power & Run Length (Why Voltage Matters)
Many guides skip this step, and it’s where most installs go wrong. The classic mistake is connecting a long run of strips to a power supply (PSU) without considering the voltage drop.
- Voltage drop: as electrical current travels down a length of LED strip, the voltage gradually decreases, so the LEDs at the end of the run appear dimmer than those at the start.
- Maximum runs: a 12V strip may be rated for a 5-meter run, but you’ll often see noticeable dimming before that point. 24V strips handle longer runs with less voltage drop.
- Power injection: for long runs (typically over 5 meters), you can “inject” power at multiple points along the strip by running parallel wires from the PSU, which keeps brightness consistent from beginning to end. A 10-meter run, for example, could have power injected at both the start and the 5-meter mark, or even the start, 3-meter, 6-meter, and 9-meter marks for maximum consistency.
Plan your power supply wattage too. Your PSU should have a wattage rating at least 15-20% higher than your total LED strip wattage so it runs cool and lasts longer. For more detailed information on planning your power, review guides from experts like quinled.info.
Mounting Options (Adhesive, Channels, Clips, Renter-Friendly)
How you mount your LED strips affects both the final look and how long the installation lasts.
Peel-and-stick backing: most strips come with a 3M adhesive back. It works well for temporary or hidden installations on clean, smooth surfaces like the underside of a desk, but it can fail on textured, painted, or dusty walls.
Aluminum channels give you a durable, professional installation and do two useful things:
- They act as a heatsink, pulling heat away from the LEDs and extending their lifespan.
- With a frosted diffuser cover, they turn a dotty strip into a smooth, continuous line of light. That matters most for visible installations on bookshelves or walls. For more on the benefits of channels, check out resources like those from LEDYi Lighting.
Renter-friendly methods, if you can’t use permanent adhesive or screws:
- Command strips are a non-damaging, removable option. Use small squares along the strip to hold it in place.
- Velcro is reusable and damage-free, and lets you reposition strips.
- Some strips come with small plastic mounting clips that can be fixed with tiny finishing nails or adhesive.
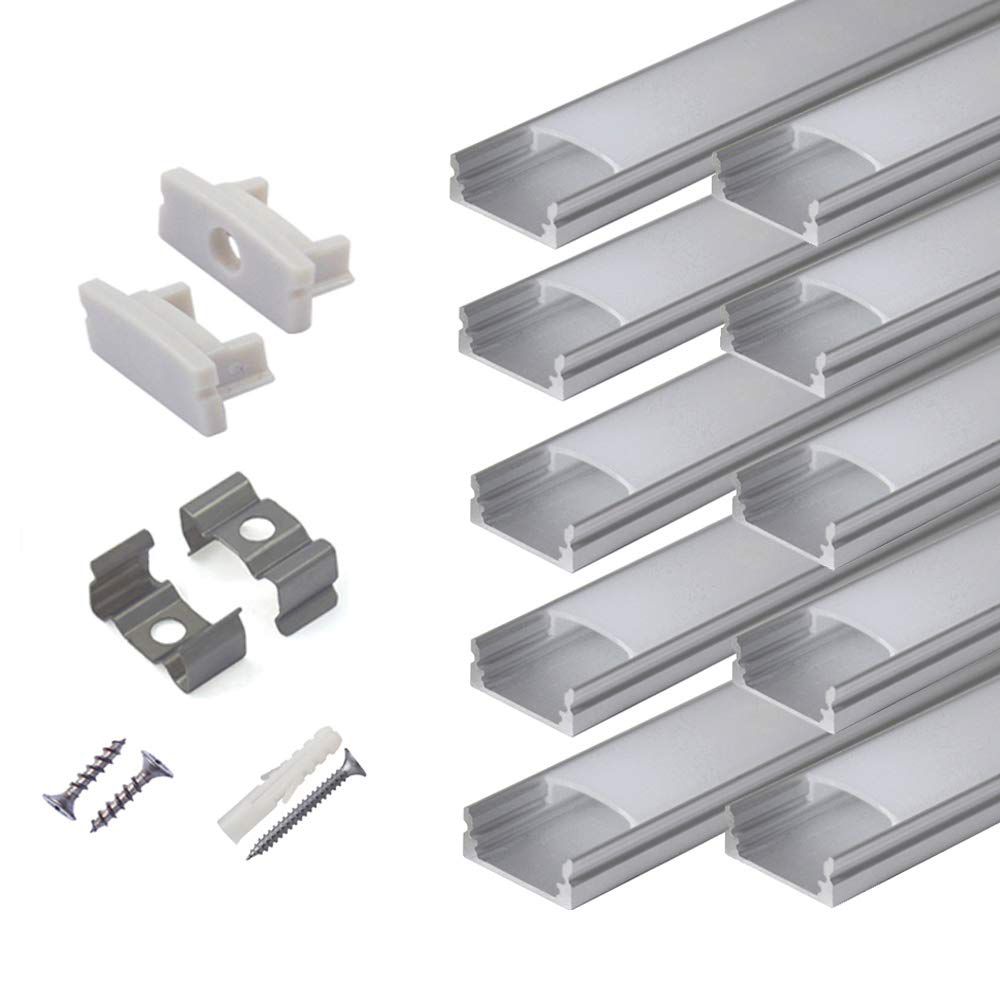
Any visible run (a bookshelf, a desk edge, a kitchen counter) is where I’d stop relying on adhesive alone and switch to channel. The hunhun U-Shape Aluminum Channel Kit is the one I point people to: it’s an Amazon’s Choice pick with a 4.6-star average across 868 ratings, and the ten-pack of 6.6ft lengths covers most single-room runs with end caps and mounting clips included. The honest con: the milky cover cuts a little brightness compared with a bare strip, so if raw lumens matter more than a clean look (task lighting under a desk, say), skip the channel there and save it for the runs people will actually see.
 $69.22 price as of Aug 26
Buy the hunhun Aluminum Channel Kit on Amazon
Cutting & Connecting (Exactly Where to Cut; Connectors vs. Solder)
The most common question from beginners is, “where do I cut?”
Look for the markings. LED strips have designated cut points marked with a small copper pad and often a scissor icon. Never cut in the middle of the strip! Cutting anywhere other than these points will permanently disable that segment.
To join strips, you have two options:
- Snap-on connectors are the easiest, no-solder method. Open the connector, align the strip’s copper pads with the connector’s pins, and snap it shut.
- Soldering provides the most reliable and durable connection, and it’s a useful skill if you plan on doing more complex installations.
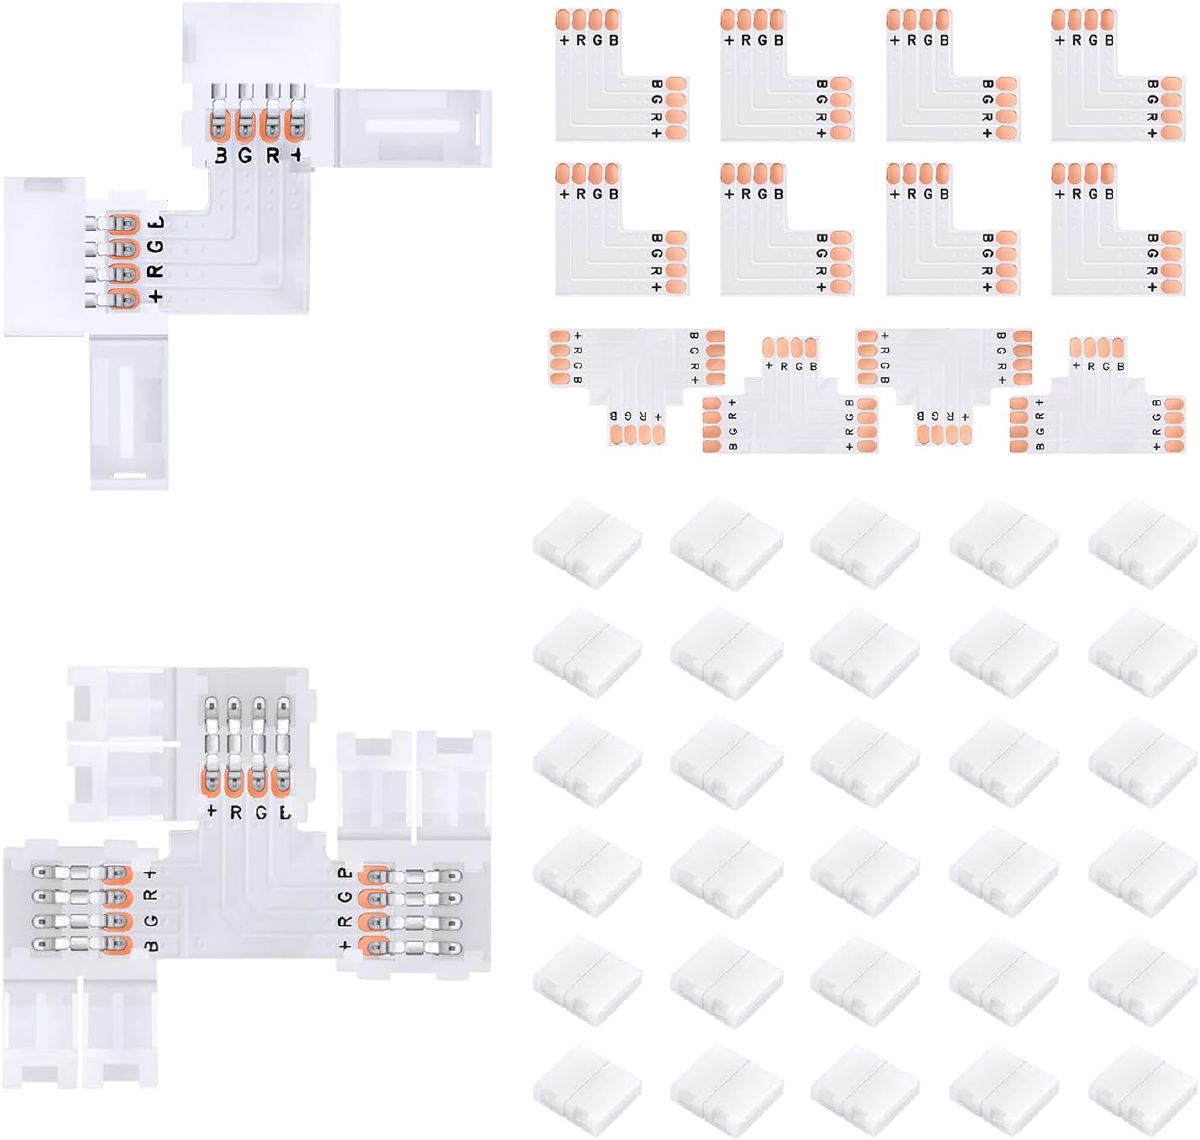
If you’d rather not solder (most people wouldn’t), the 4-Pin LED Strip Connector Kit is a cheap, Amazon’s-Choice-badged way to get corner and extension joins done in minutes. Its 350 ratings sit at 4.1 stars, which tracks with what these clip connectors are: fine for a clean, dry, indoor run, less so for anywhere it’ll get bumped or flexed. One warning: clip connectors are the weakest link in a strip run. If a joint sits somewhere hands or furniture will catch it, solder that one and save the clips for the runs nobody touches.
 $5.99 $6.49 8% off price as of Aug 26
Buy the LED Strip Connector Kit on Amazon
Wiring & Controllers (Basic Wiring Diagram)
The wiring setup for a simple installation is straightforward:
Power Supply → Controller (optional) → LED Strip(s)
- The power supply (PSU) converts your wall voltage (e.g., 120V) to the low voltage (12V or 24V) the strips need. Always use a PSU with the correct voltage and sufficient wattage.
- If you are using RGB, RGBW, or tunable white strips, you’ll need a controller to change colors, brightness, and effects. It connects between the PSU and the strips.
- The most common wiring mistake is mixing up positive (+) and negative (-) wires, or connecting a 12V strip to a 24V power supply. Either can burn out the LEDs, so double-check your voltage and polarity.
Common Installation Mistakes & Troubleshooting
Even with careful planning, things can go wrong. Here’s how to fix them.
- Adhesive failure: if your strip won’t stick, the surface is likely dirty, textured, or painted. Clean it with isopropyl alcohol; if it still fails, use a more secure method like mounting clips or aluminum channels.
- Dimming at the end of the run: a classic sign of insufficient power. Use a 24V strip, a shorter run, or power injection to boost the voltage at the end.
- Incorrect cut points: if you cut your strip and a segment no longer works, you cut in the wrong place. The only fix is to replace that section. Always use the marked cut points.
- Bends and kinks: when wrapping strips around corners, avoid sharp bends, which can damage the delicate circuitry inside. Use specially designed corner connectors or make a gentle curve. AspectLED has excellent tips on handling and bending strips properly.
Quick Gear Guide (What to Buy)
For under-desk task lighting, opt for a bright, high-density white LED strip (e.g., 24V COB) for uniform illumination of your workspace.
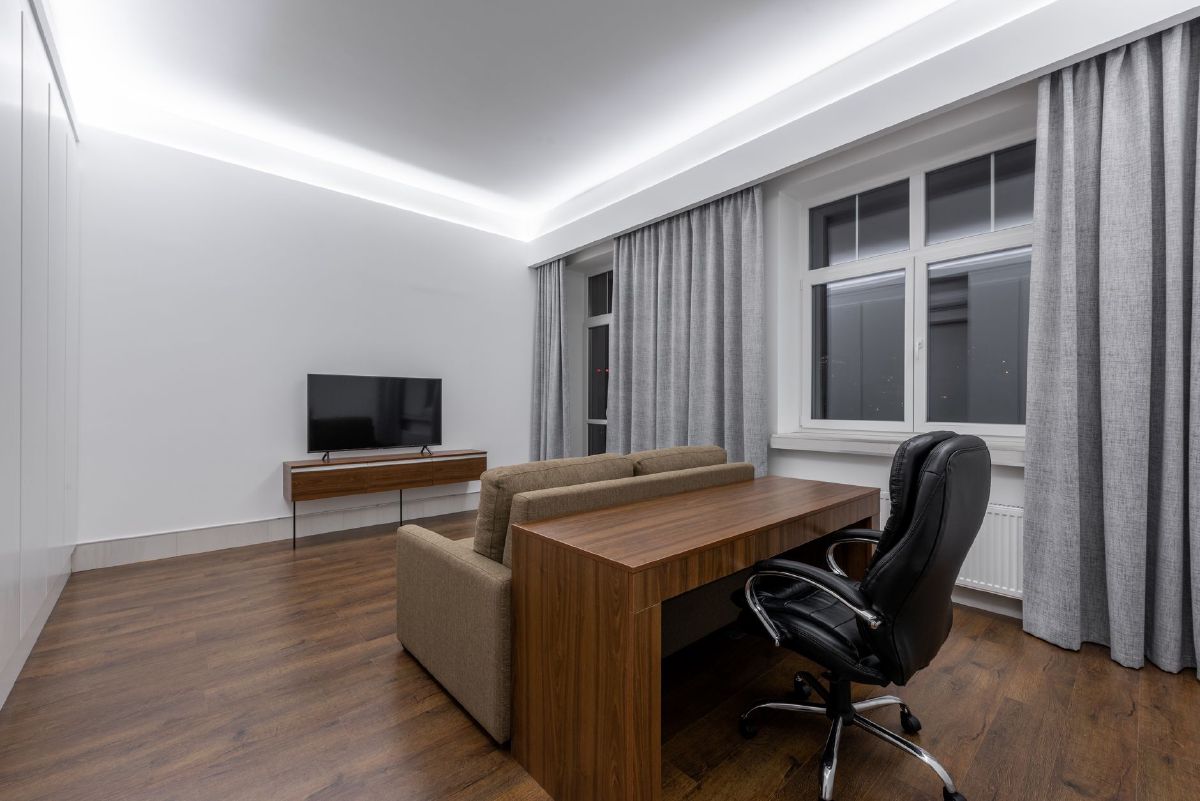
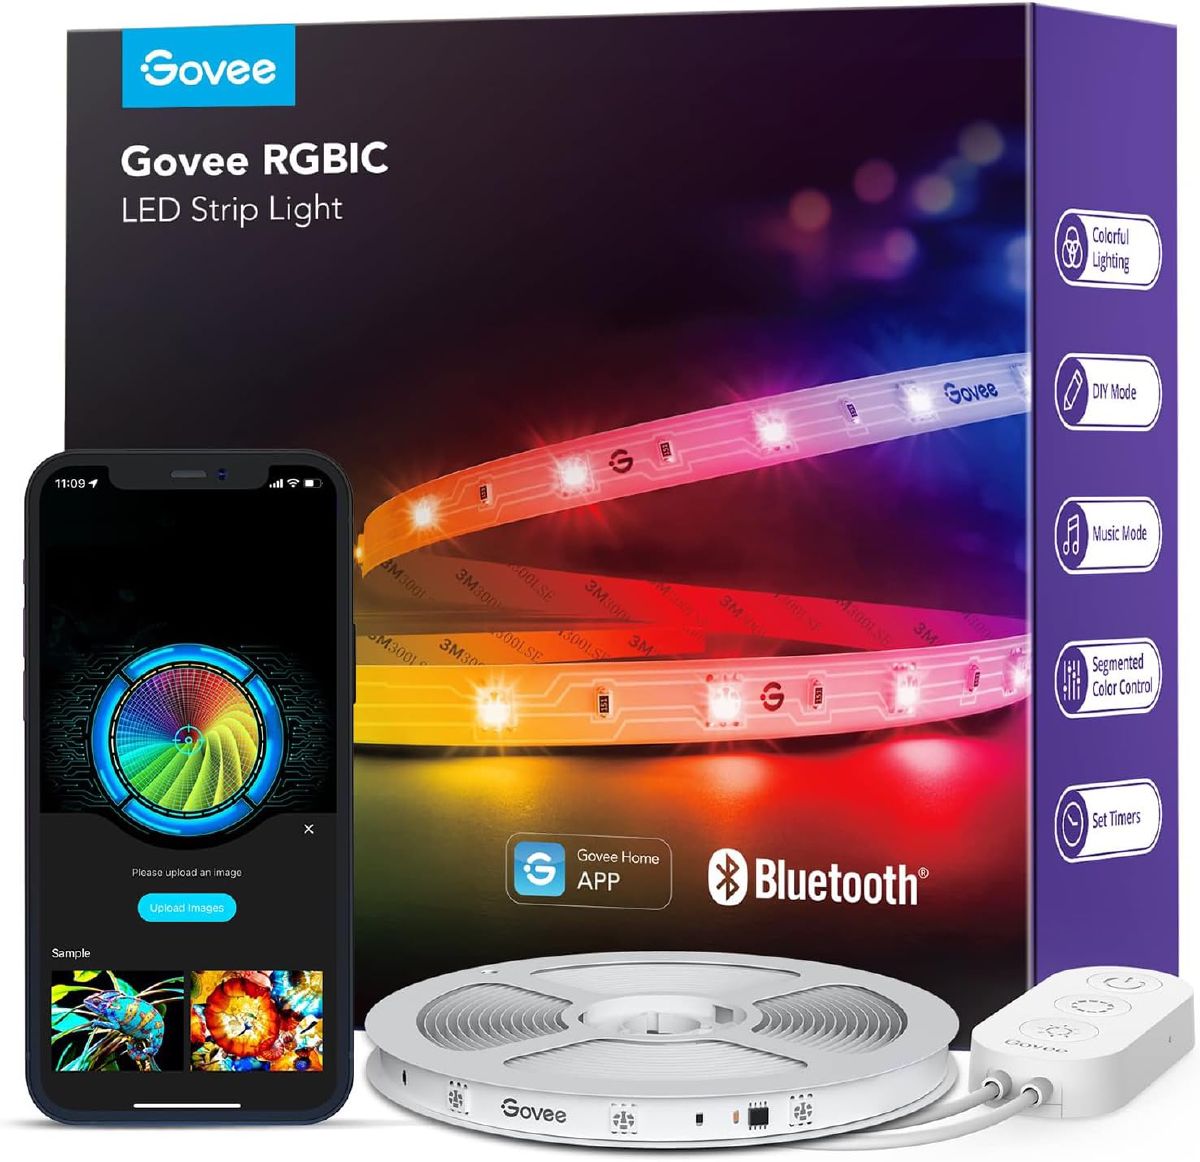
For behind-monitor or accent bias lighting, use a warm white or a color-changing (RGB) strip mounted on the back of your monitor or along a headboard. A shorter, lower-power strip is usually sufficient. Behind a monitor I’d fit the Govee RGBIC LED Strip Lights, because per-segment control turns bias lighting into a soft gradient instead of one flat block of color, and 26,000-plus reviewers at 4.4 stars suggest the hardware outlasts the bargain reels. Fair warning from the install side: peel-and-stick backing only grips as well as the surface you prep, so degrease the monitor shell or headboard first and expect early peeling on textured or dusty surfaces.
 $13.49 $14.99 10% off price as of Aug 26
Shelf or accent lighting is a great place to use an aluminum channel with a frosted diffuser and a COB strip for a high-end, seamless look.
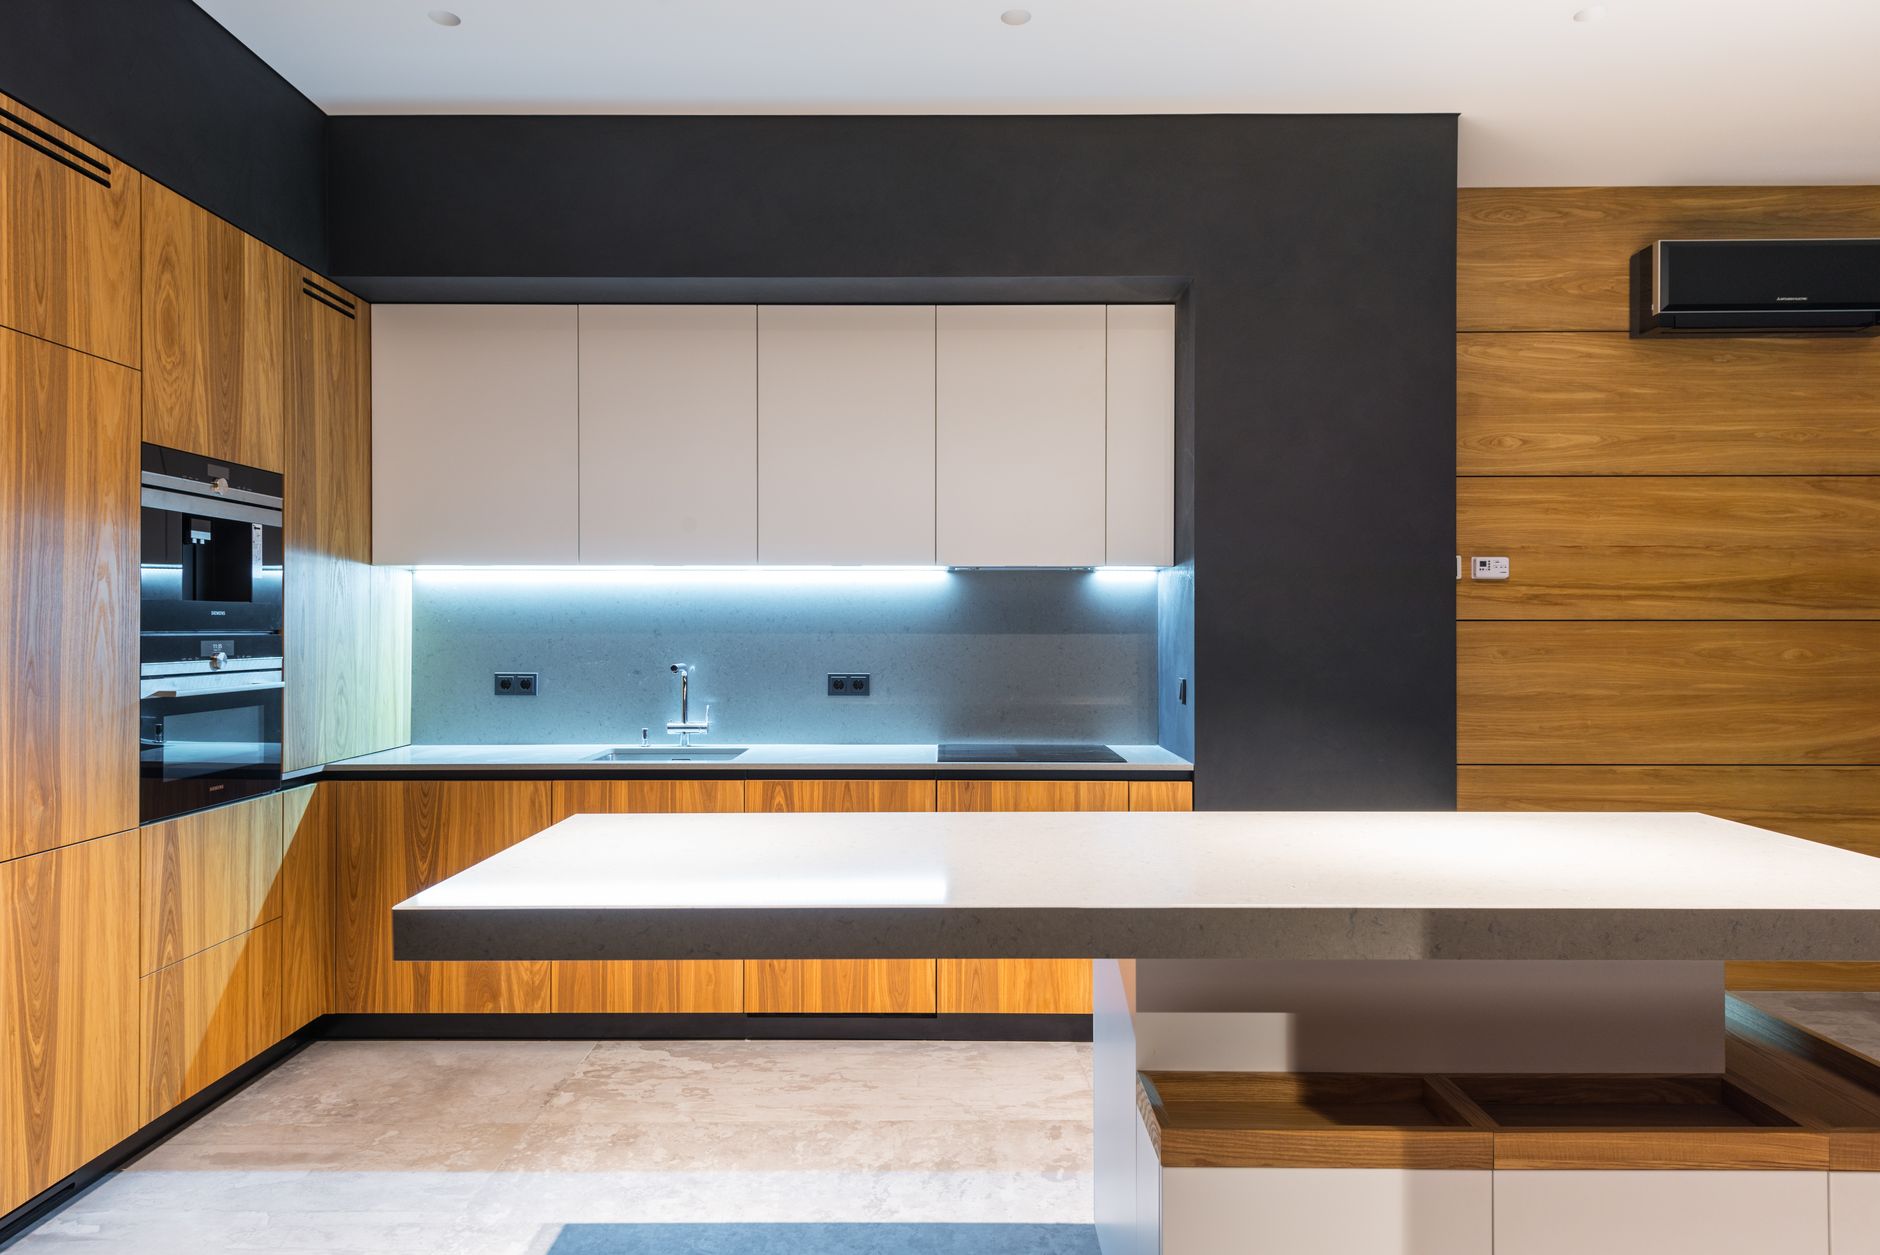
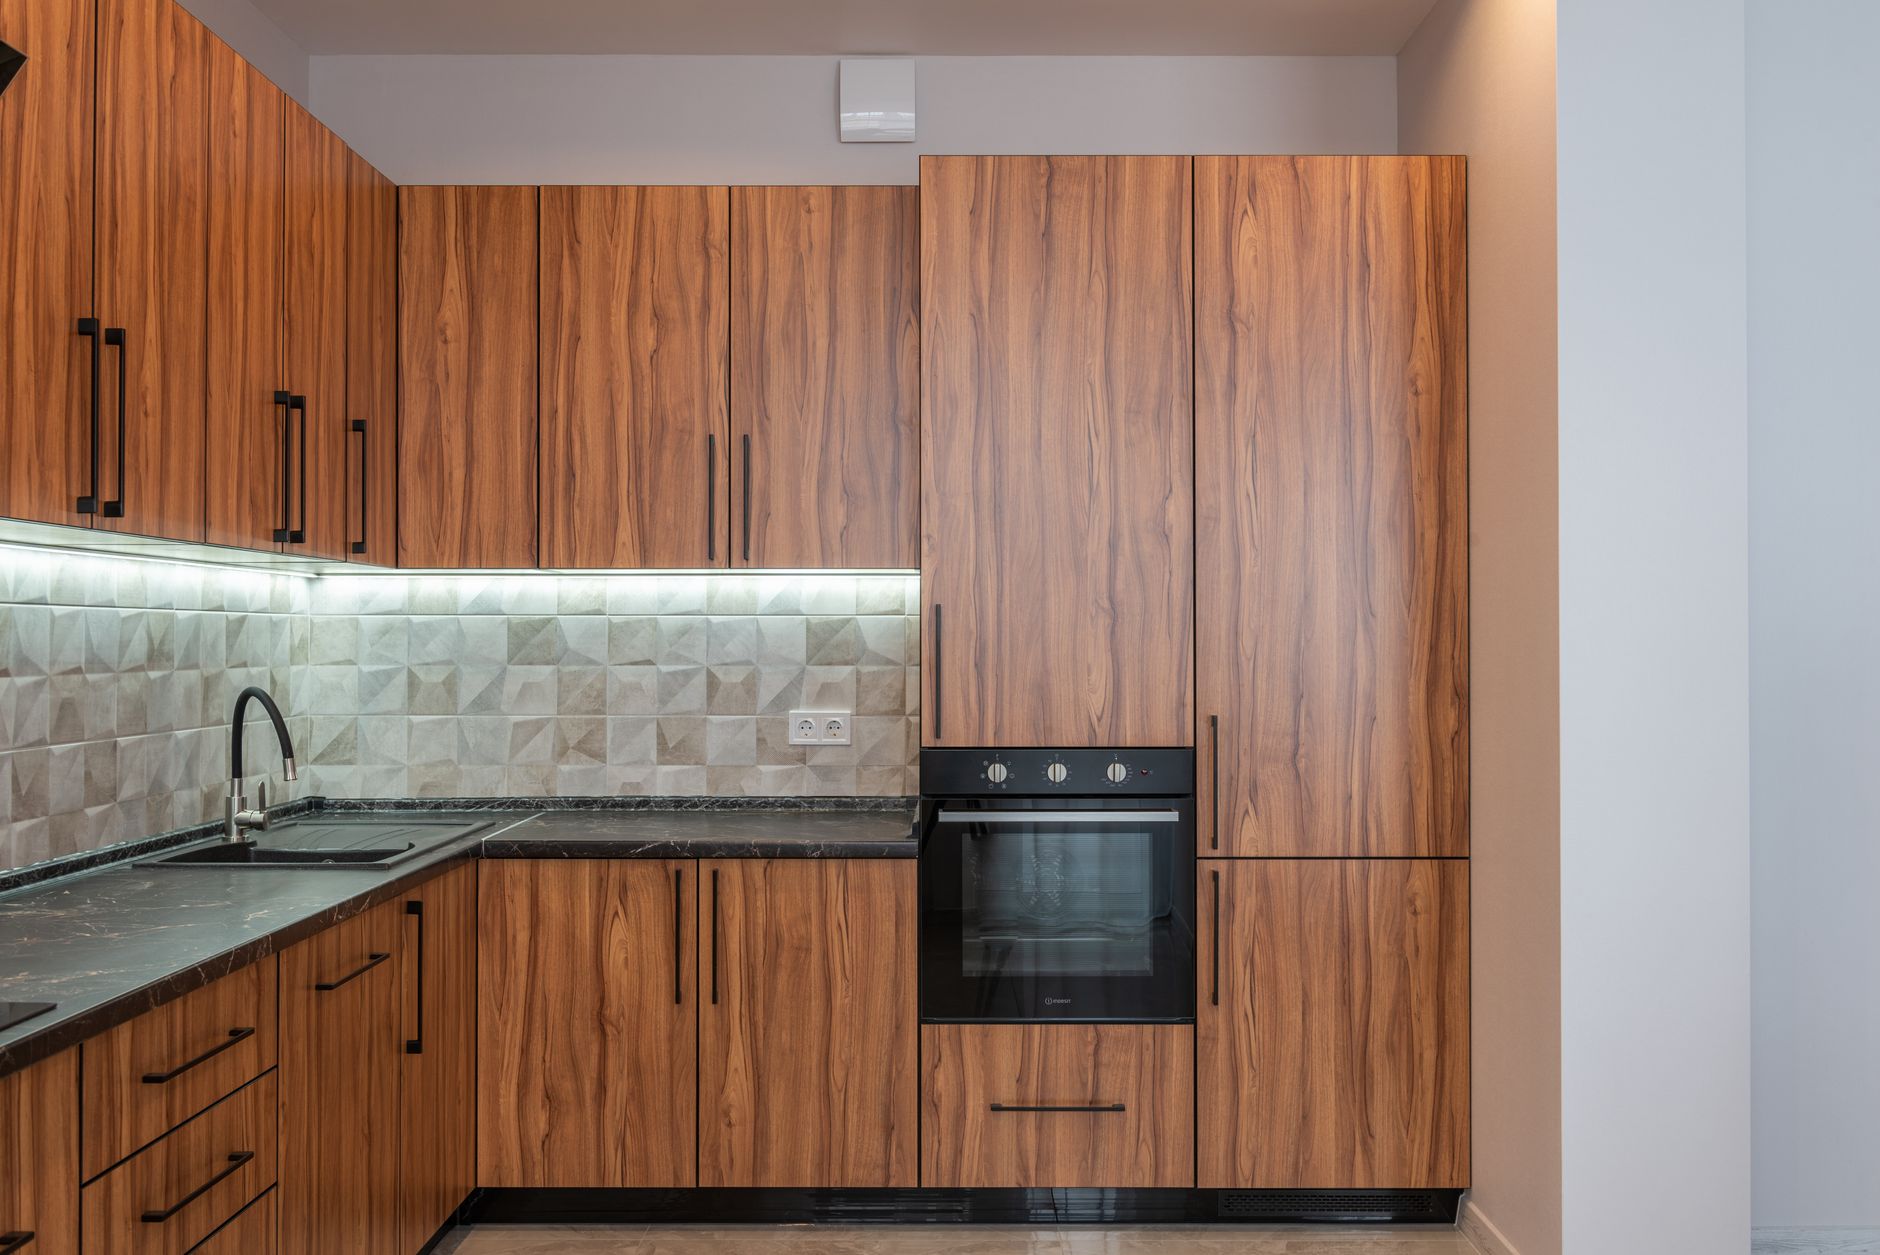
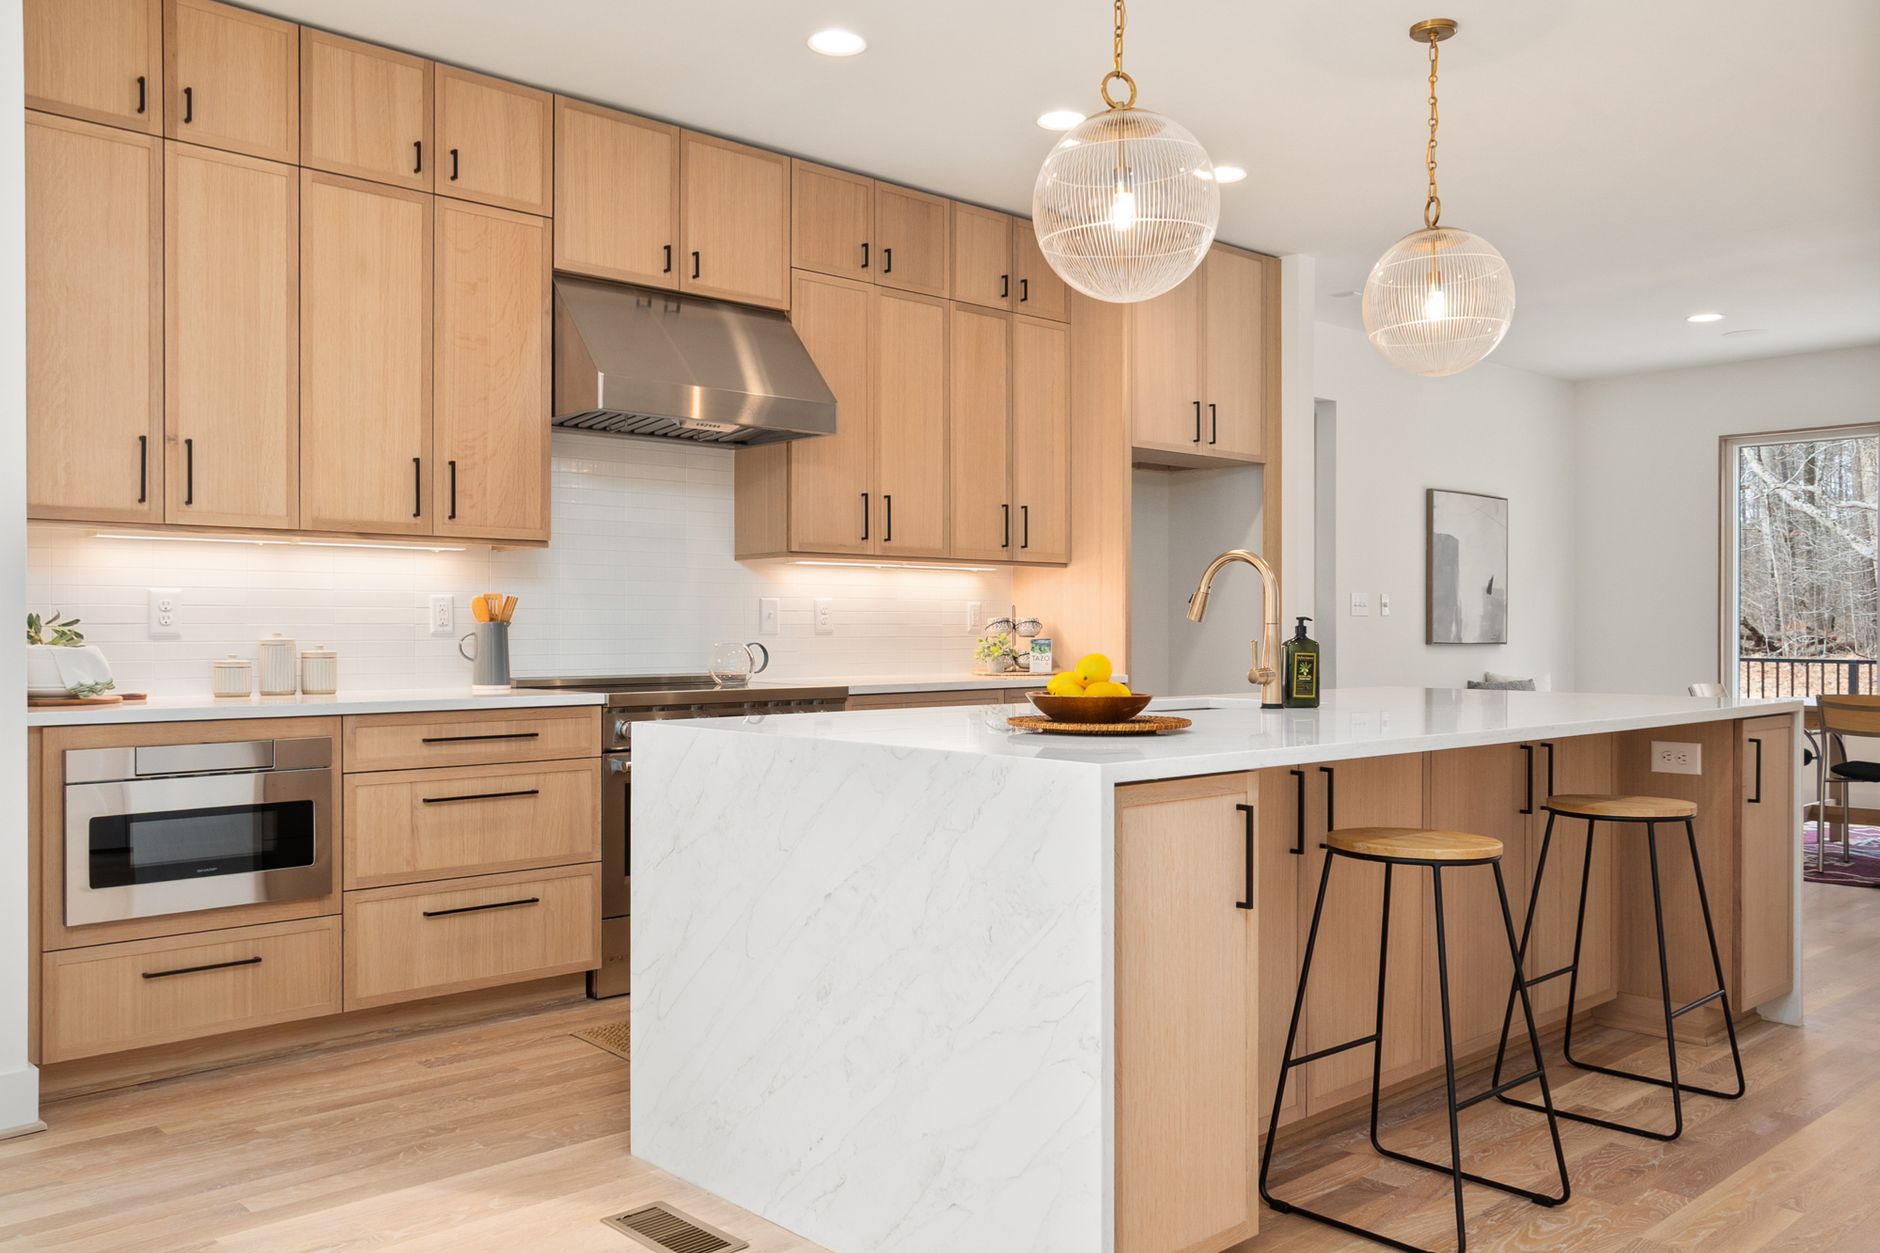
Kitchen under-cabinet lighting follows the same planning and mounting rules: voltage matching, cut points, channel over bare adhesive above a stove or sink. See our dedicated under-cabinet lighting guide for kitchen-specific product picks and layout advice.
If you want pre-tested options for each use case, see our 10 Best LED Strips, or start from the whole-home Ultimate Guide to Lighting Design if you’re planning more than one room.
Safety & Maintenance
- Always make sure your power supply voltage matches your strips, and that its wattage rating exceeds your total strip wattage.
- For long or high-power runs, use aluminum channels to prevent overheating and prolong the life of your LEDs.
- If you have painted or delicate walls, test the adhesive in an inconspicuous spot before committing to the full installation.
- Be mindful of IP ratings; if a strip is not rated for moisture (e.g., IP65 or higher), keep it away from spills or humid areas.
FAQs
Can I stick LED strips to a painted wall?
You can, but the adhesive may not hold well, especially on textured or matte paint. The strip may eventually fall, and the adhesive can damage the paint upon removal. For a more secure and renter-friendly option, use removable Command strips or aluminum channels mounted with temporary clips.
Why are the LEDs at the end of my strip dimmer?
This is a common issue caused by voltage drop. As the current travels down the strip, the voltage decreases, causing the LEDs at the far end to be less bright. To fix this, use power injection to run parallel wires from the power supply to the end or middle of the strip.
Where exactly do I cut LED strips?
LED strips have specific cut points marked by a small copper pad and often a scissor icon. You must only cut at these designated points. Cutting anywhere else will damage the circuit and render that segment unusable.
Is it better to use solder or connectors?
Solder provides a more permanent, reliable, and secure electrical connection. However, connectors are a quick, easy, and no-solder alternative that works well for most home installations.
Conclusion
Installing LED strips is an easy weekend project once you’ve got the plan right. The mistakes I see are almost always about power (wrong voltage, no injection on a long run) or mounting (bare adhesive on the wrong surface), not the strip itself. Plan the power, pick a mounting method that matches the surface, and you’ll get a professional-looking result under a desk, along a bookshelf, or under a kitchen cabinet.
Ready to buy? Compare tested models in our 10 Best LED Strips roundup, or browse under-cabinet kits for the kitchen if that’s the room you’re wiring up.