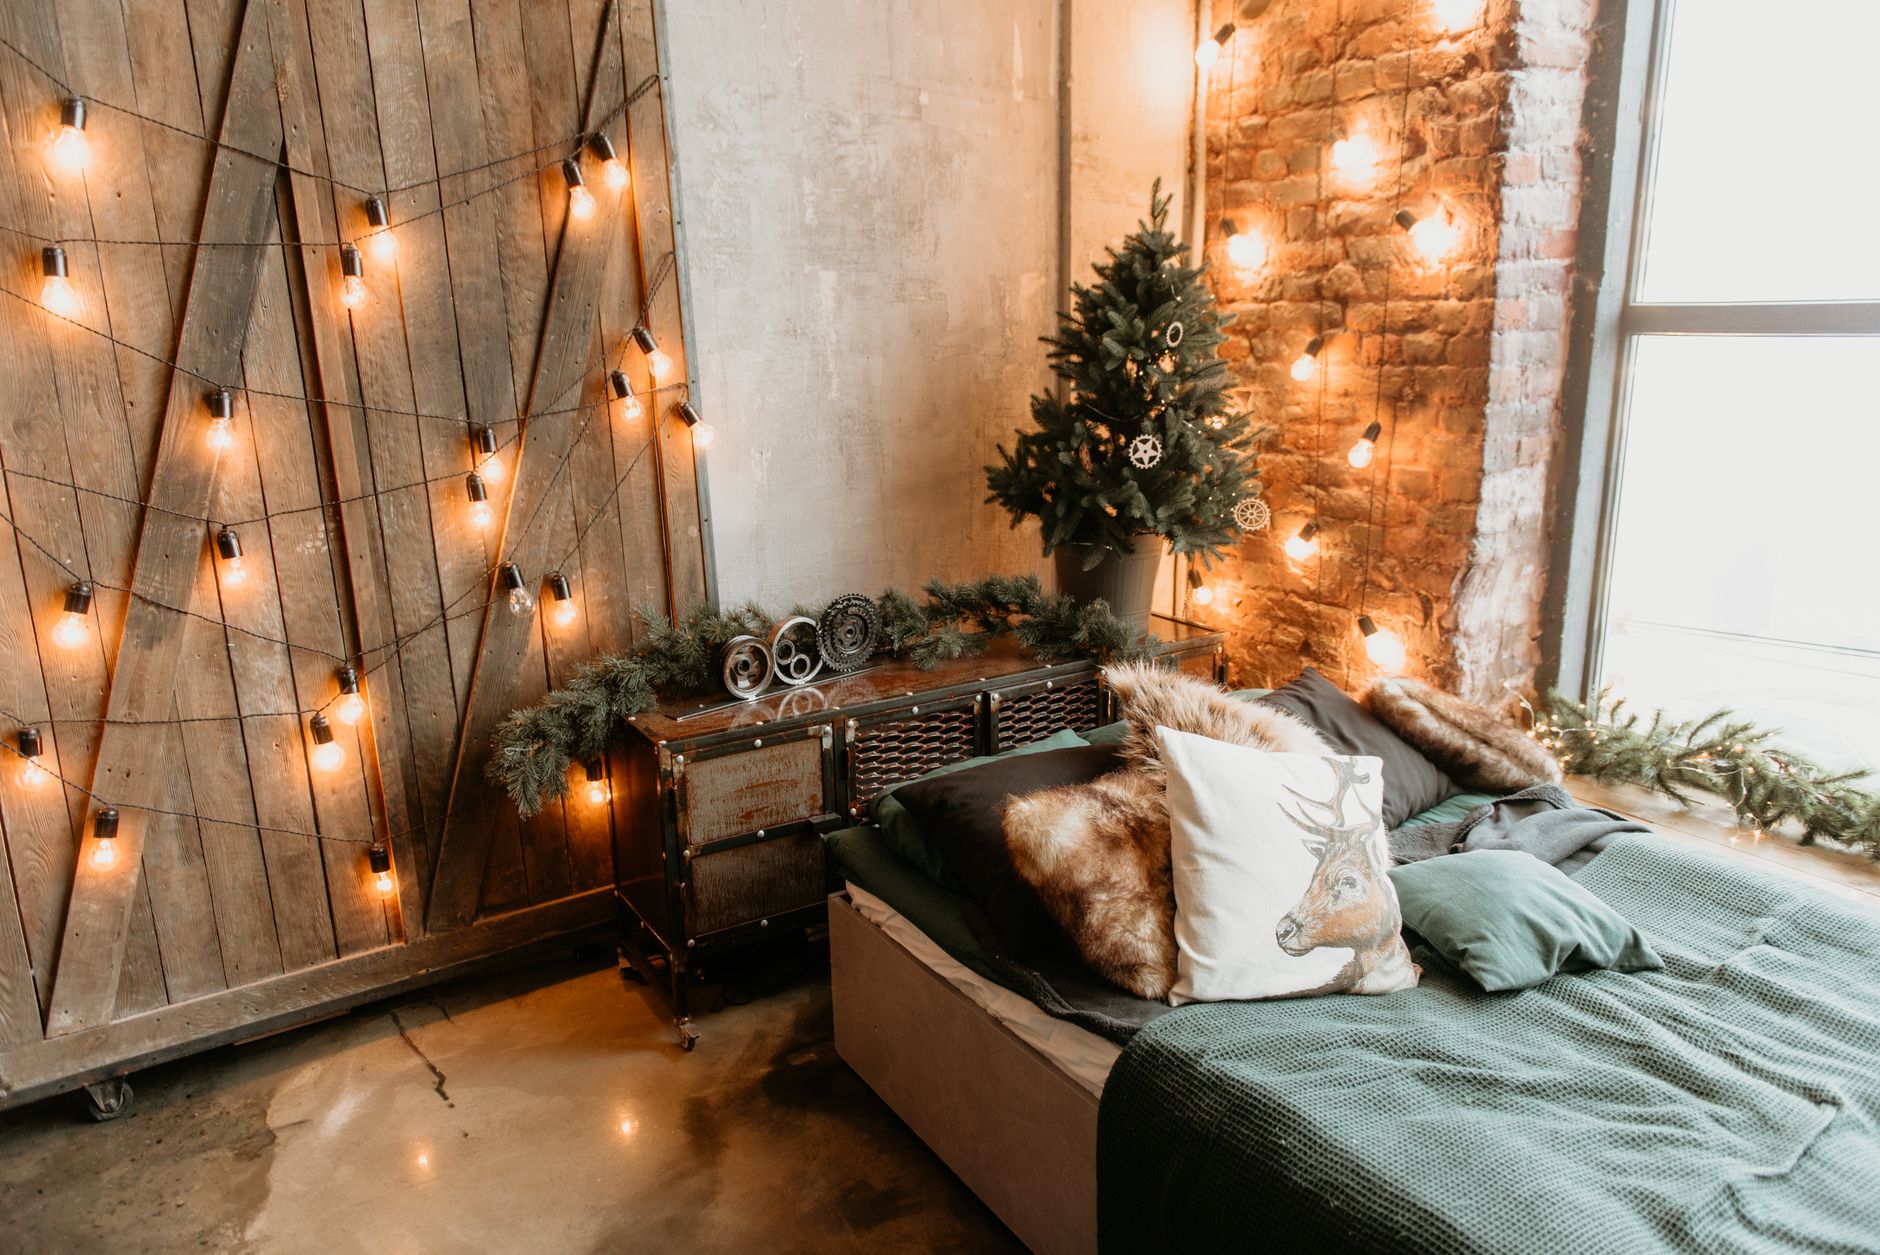
The easiest way to hang fairy lights without damaging your walls is with Command strips or hooks: they hold a light strand for months and come off cleanly when you pull them straight down. Tape is the one to be careful with. Painter’s tape and washi hold light strands for a few days before they sag, so if you want them up for a season or longer, Command strips or hooks are the only adhesive option I’d trust not to pull paint off with it. Below I compare every method I’d recommend: what holds, what fails, and which one is the best fit for your wall, your lease, and how long you want the lights up.
Can You Hang Fairy Lights With Tape? My Honest Answer
Yes, but only for a short-term or lightweight setup, and only with the right tape. Here’s what actually happens with each option:
- Regular Scotch/Sellotape holds for a night or two at best. The adhesive isn’t rated for sustained weight, and on painted walls it’s the one most likely to pull paint off when you remove it. I’d only use it for a party you’re taking down the next morning.
- Painter’s tape is gentler on paint than Sellotape and won’t strip a wall, but it also has the weakest hold of the bunch. Fine for a very light strand for a few days; it starts sagging under a heavier globe-style set within a week.
- Washi tape sits in the same bracket as painter’s tape: decorative, low-residue, low-hold. Good for a temporary dorm-room look, not for anything you want to leave up through a season.
- Command strips and hooks are the real answer if “hold” is the priority. They’re rated for a specific weight (check the packaging; light fairy-light strands are well within the lightest-duty strip), they come off cleanly without paint damage when you follow the removal instructions (pull straight down, slowly), and they’re the one adhesive option I’d trust for months, not days.
What actually causes tape to fail isn’t usually the lights’ weight on its own. It’s heat and humidity softening the adhesive over time, or someone yanking the cord to adjust it and putting sideways force on a bond that was only ever rated for straight-down pull. If you want a tape-based setup to survive more than a couple of weeks, Command strips beat every other tape option on this list.
What You’ll Need
- Fairy Lights or String Lights: Battery-powered for anywhere without a nearby outlet, plug-in for anywhere you’ll leave them running nightly. LED is the only sensible choice now: it stays cool to the touch and costs pennies to run all night. For a full comparison of formats, see my Best Fairy Lights for Bedrooms round-up. If you just want one solid pick to hang and be done, the Minetom Globe String Lights are what I’d grab for this project: under $20, warm white, and the included remote means the timer and dimmer settings work even once the plug is hidden behind furniture, a real convenience for the concealed-outlet hanging methods below. One thing to weigh first: globe bulbs hang with more visual weight than bare micro-LED wire, so they read as a decor feature in their own right rather than a subtle twinkle.
Buy the Minetom Globe String Lights on Amazon
- Hanging Supplies: Command strips/hooks, adhesive clips, pins, painter’s tape, blue tack, or wire suckers. Pick based on the method below, not what happens to be in the drawer.
- Measuring Tape & Pencil: To plan your layout before you stick anything to a wall.
- Ladder (Optional): For reaching high spots.
- Extension Cords/Timers: For plug-in lights, to keep cabling tidy and the lights on a schedule without you remembering to flip a switch each night. I’d reach for the BN-LINK Mini Outlet Timer over a smart plug for a project this size: it’s a twist-dial mechanical timer, no app or wifi setup, and the pack includes two so there’s a spare for the next room. The tradeoff is precision: you’re setting it in roughly half-hour increments, not to the exact minute, which doesn’t matter much for a bedside glow that comes on at dusk.
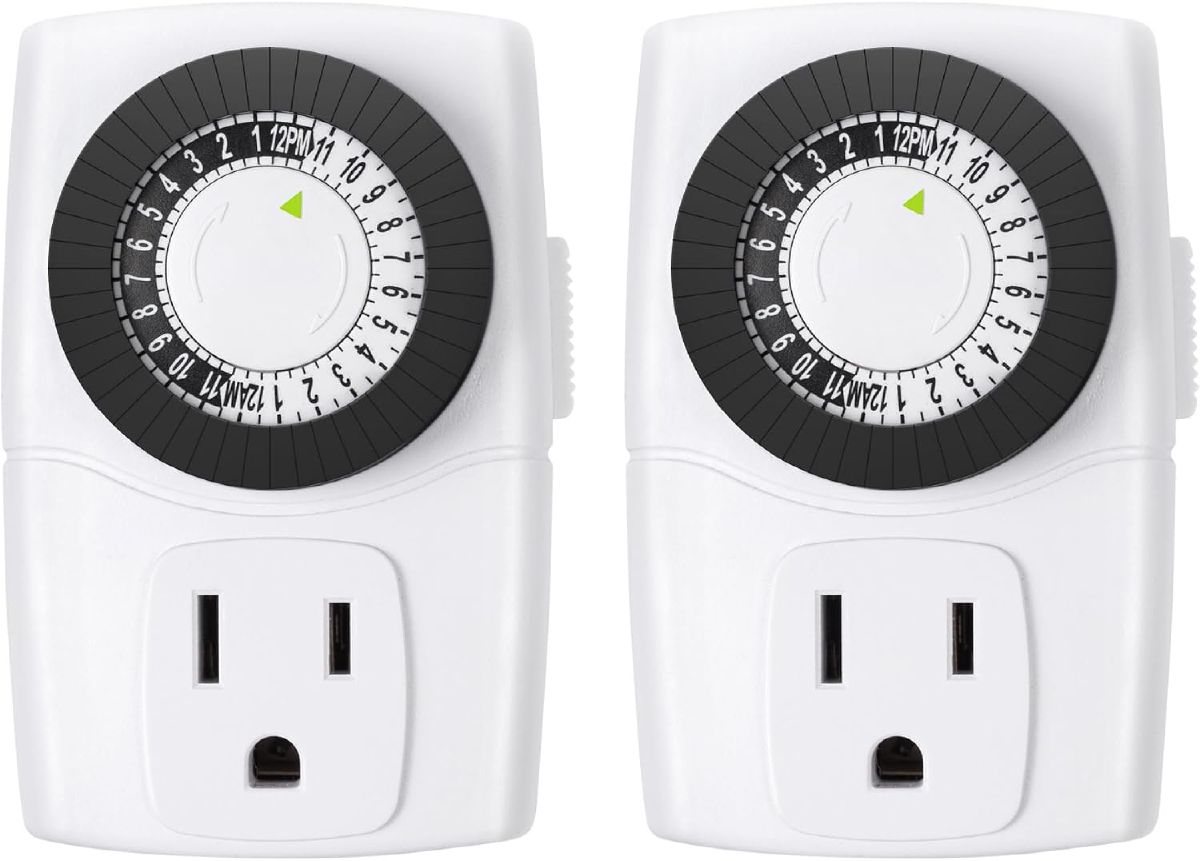 $9.99 price as of Oct 23
Buy the BN-LINK Outlet Timer on Amazon
- Clean Cloth & Mild Cleaner: Any adhesive method holds better on a clean, dust-free surface; this step matters more than people expect.
How to Stick Fairy Lights on a Wall Without Damage (Every Method Compared)
To put fairy lights on a wall without damage, use Command strips or hooks on smooth paint, adhesive clips for a long neat run, and wire suckers on glass; save pins for a wall you own. The right method depends on your wall, your lease, and how permanent you want the look. Here’s how I’d choose:
| Method | Hold strength | Wall-safe? | Best for |
|---|---|---|---|
| Command strips/hooks | Strong (rated by weight class) | Yes, clean removal | Renters, anything left up 1+ months |
| Adhesive clips | Medium | Yes, on smooth paint | Routing cable neatly along a photo wall or shelf edge |
| Pins/nails | Strongest | No, leaves holes | Owned walls, permanent installs |
| Painter’s/washi tape | Weak | Mostly | A few days, lightweight strand only |
| Blue tack | Weak-medium | Mostly, can stain | Dorm rooms, short-term, lightweight sets |
| Wire suckers | Medium, fades over time | Yes | Glass, mirrors, tiled surfaces |
| Draping (no hardware) | N/A | Yes | Headboards, shelves, curtain rods |
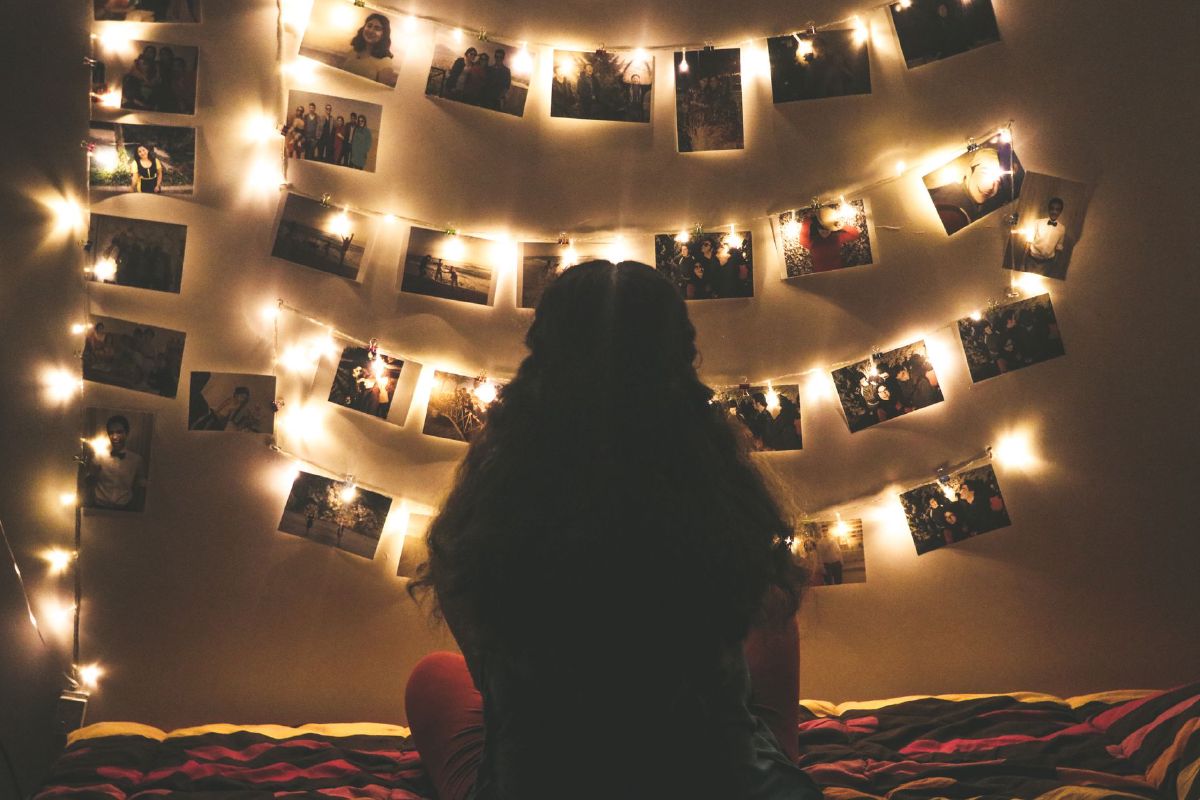
My honest read: for anything you want to leave up longer than a couple of weeks on a wall you can’t put holes in, Command strips/hooks are the method. Nothing else on this list matches their combination of hold and clean removal. If you’re routing a long run neatly across a photo-wall or gallery display like the one in the cover photo above, adhesive clips (small dedicated clips, not the general-purpose Command hook) do a better job of keeping the cable itself flush and tidy along the route rather than just holding a single point. Pins win on raw hold if you don’t mind small holes and own the wall. Everything else (tape, blue tack, suction) is a short-term or lightweight-only choice, not a “hang it and forget it” one.
1. Command Strips & Hooks (Best for Clean Removal)
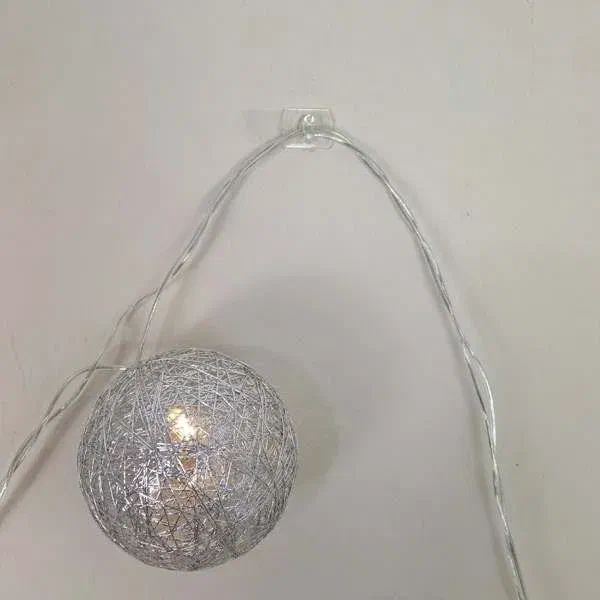
How to use: Stick to a clean, dry surface and press firmly for 30 seconds; rushing this step is the most common reason they fail early. Use the hook weight-class rated for your light set (fairy lights are almost always within the lightest-duty strip).
Honest con: they genuinely only work well on smooth surfaces; textured plaster or wallpaper can defeat the bond even when the strip itself is fine.
The product I’d actually point you to here is Command’s own light clips, not the general-purpose picture hooks.
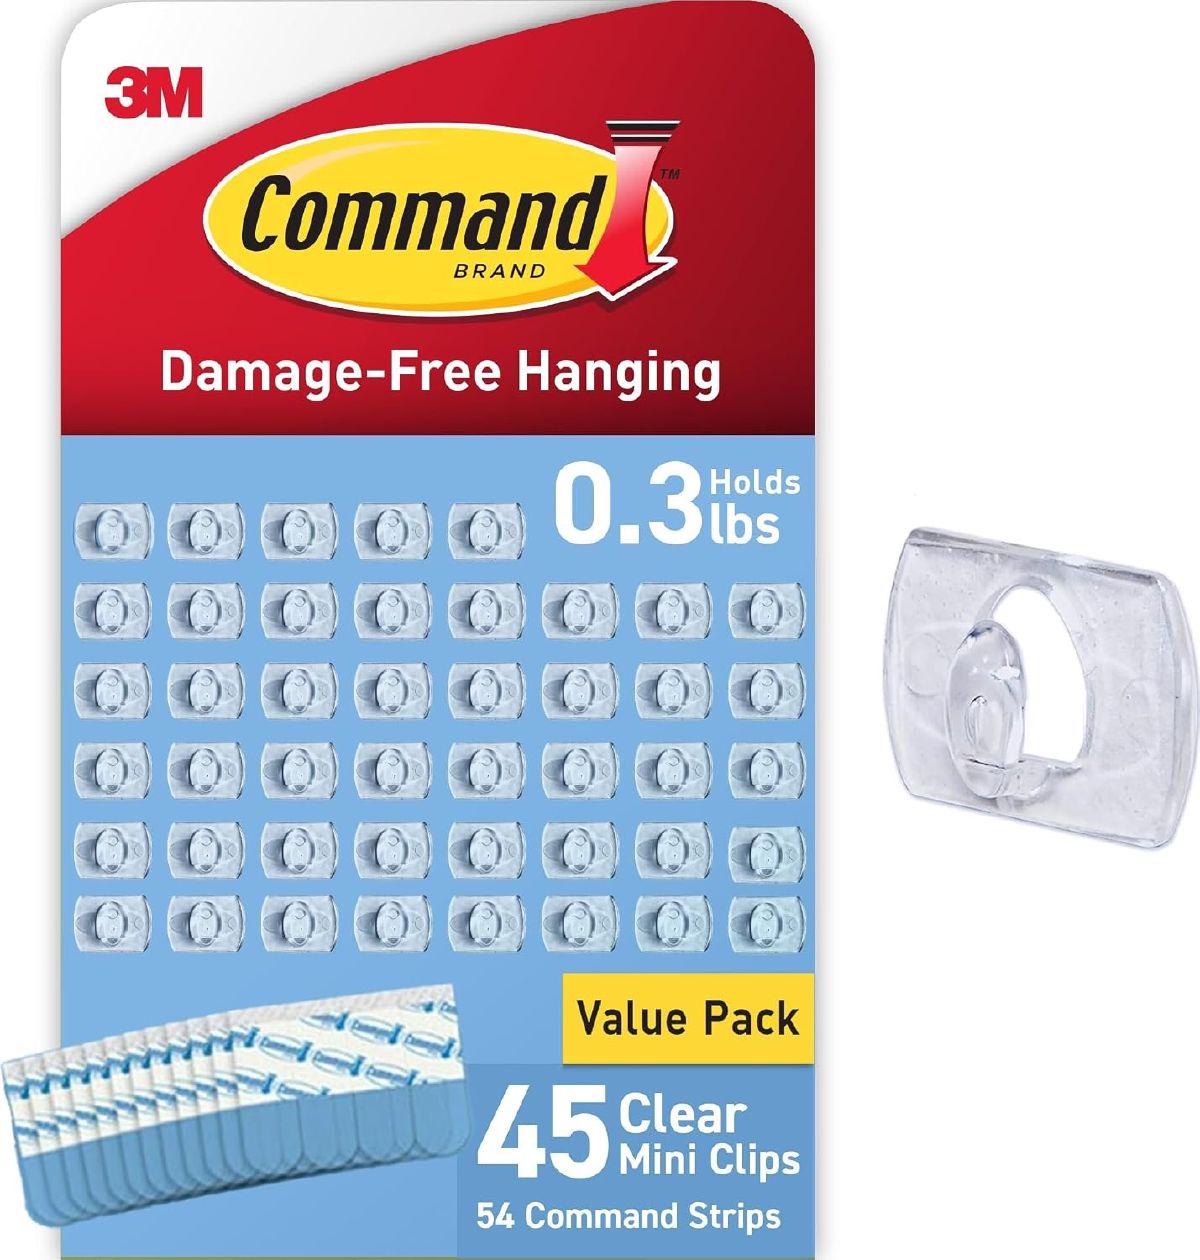 $11.90 price as of Oct 21
Each pack has 45 clips and 54 strips, rated to hold 0.3lb, and sized for exactly this job: one clip every two feet of cable is roughly what a strand needs to stay put without sagging between points. It’s sitting close to 59,000 ratings at 4.4 stars, which is the kind of track record you only get from being the default choice for years, not a one-off algorithm push. One thing worth knowing: 0.3lb comfortably covers a bare micro-LED strand but not a heavier globe-light set, so check your light set’s actual weight before assuming the lightest clip will do.
Buy Command Indoor Light Clips on Amazon
2. Adhesive Clips (For Neat Cable Routing)
Small dedicated cable clips (different from a Command hook, which holds one point of weight) are built to hold the wire itself flush against the wall every few inches along a run. This is the method for a clean photo-wall or gallery-style install where you want the cable itself to look intentional, not just the lights.
Honest con: medium hold at best, and you need one clip every few inches for a straight run, which adds up in cost and setup time versus a couple of Command hooks.
Buying clips one small pack at a time gets expensive fast once you’re covering a full gallery wall.
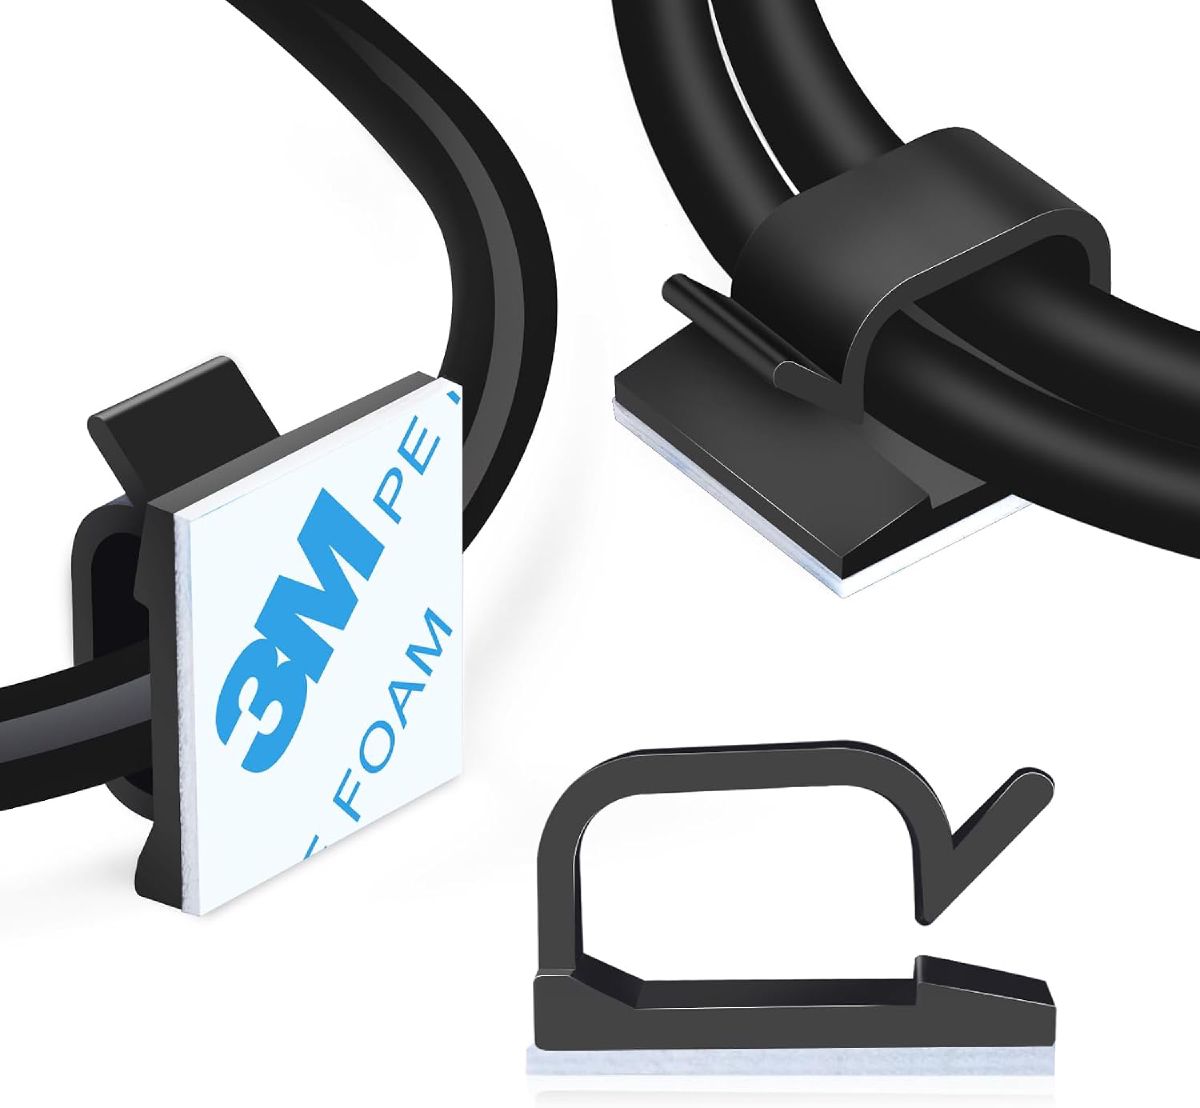 $8.99 price as of Oct 21
A 120-pack works out to a few cents per clip, and the closed loop cradles the cable instead of pinching one point, so it holds up better while you’re still adjusting the layout. The catch: 120 is a lot for one small strand around a headboard, so buy the small Command pack above instead if you’re only doing a single ten-foot run, and save a bulk pack like this for a full gallery-wall project.
Buy Adhesive Cable Clips on Amazon
3. Pins or Small Nails (For Secure and Permanent Fixing)
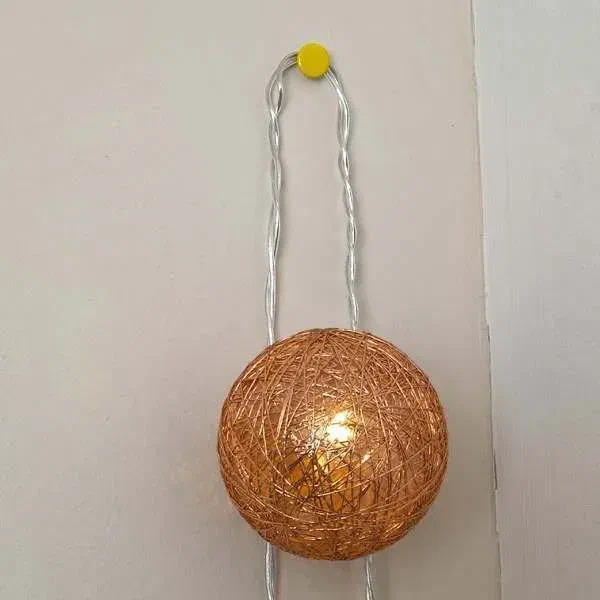
How to use: Push directly into walls or wooden surfaces. Ideal for straight lines or a defined pattern you’re committing to.
Honest con: leaves small holes, and it’s the one method here that isn’t renter-safe or reversible without a bit of wall filler afterward.
4. Blue Tack (For Lightweight, Short-Term Setups)
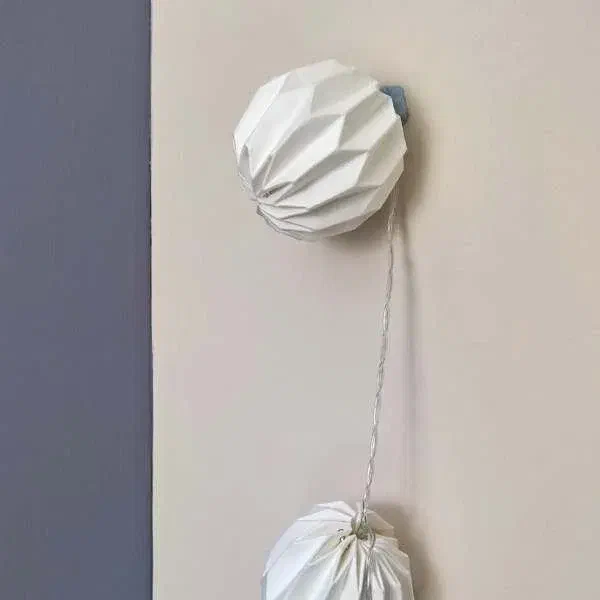
How to use: Roll a small amount and press firmly onto the wall, then attach lights gently.
Honest con: it can leave a greasy stain on paint over time, and it won’t reliably hold a heavier globe-style strand. I’d only use it for the thinnest LED string.
5. Painter’s Tape or Sellotape (Quick Fix for a Few Days)
How to use: Cut small strips and press the lights directly onto the wall; painter’s tape is gentler on paint than Sellotape.
Honest con: weakest hold of any method here; see the tape verdict above. Fine for a party you’re taking down tomorrow, not for a look you want to keep.
6. Wire Suckers (For Glass and Windows)
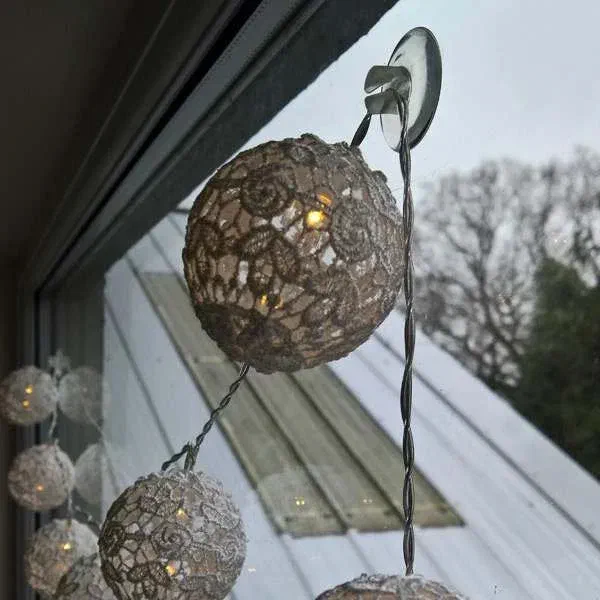
How to use: Moisten the suction cup slightly and press onto a clean window, mirror, or tile. Hang lights from the attached hook.
Honest con: grip fades over time, especially in a room with temperature swings, so it’s worth checking every few months.
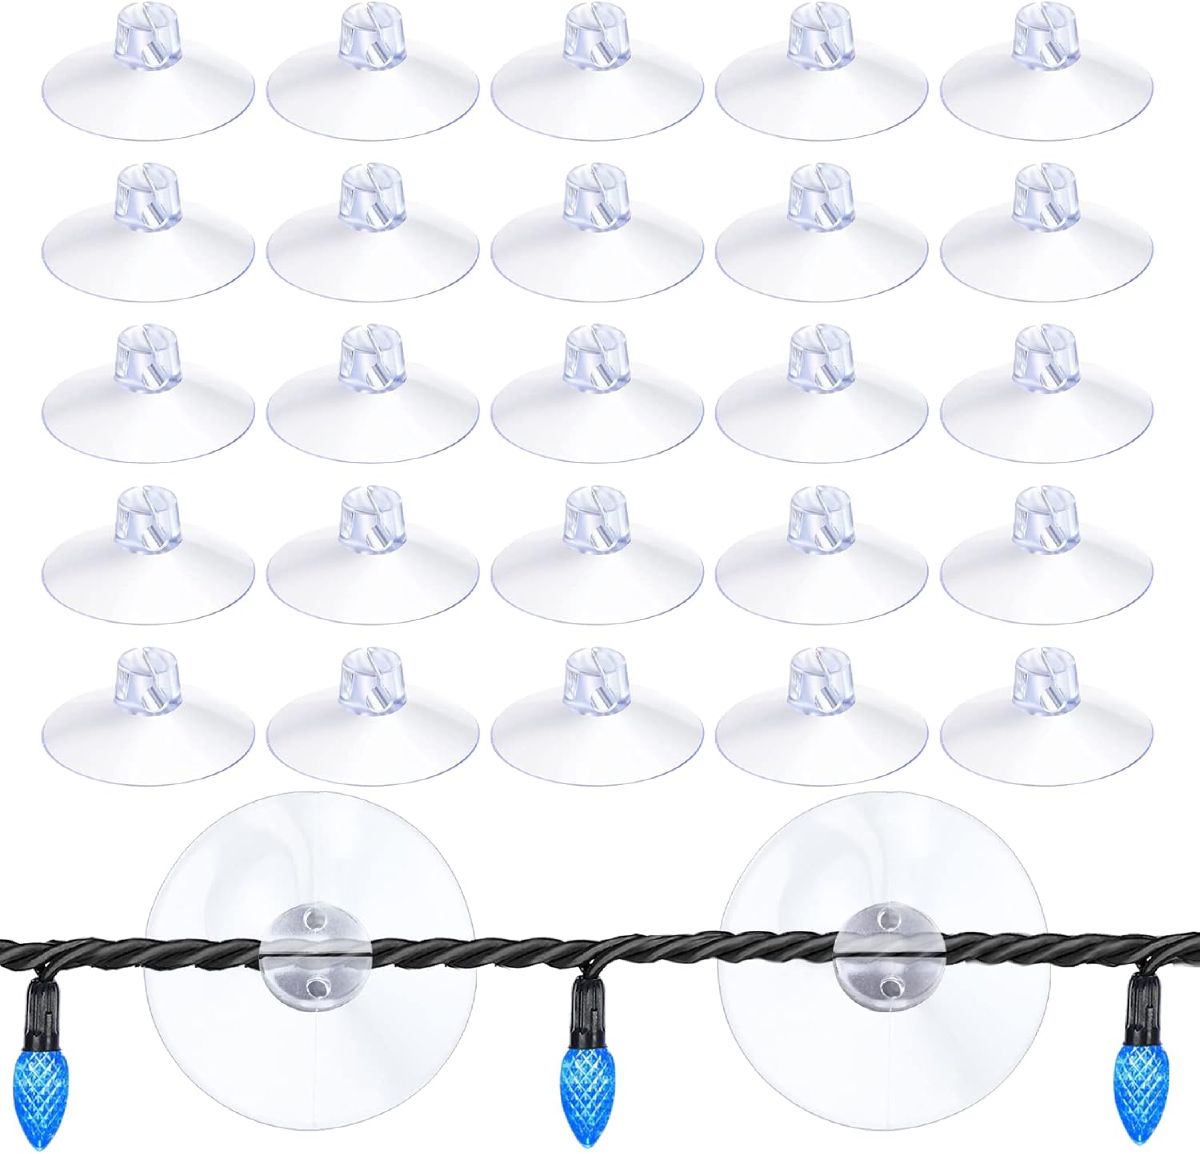 $26.99 price as of Oct 21
A 100-pack is the practical reason to buy suction cups instead of tape for a window display: grip does fade, so you want spares on hand rather than reordering mid-season, and at this count you can space cups closer together than the standard 10-cup set allows. Worth knowing: this is a rotate-seasonally tool, not a permanent fixture. Don’t expect the multi-month hold Command strips give you on a wall.
Buy Window Suction Cup Hooks on Amazon
7. Draping Over Furniture (No Hardware at All)
How to use: Drape over a headboard, bookshelf, or curtain rod with no attachment at all. It’s the easiest method on this list by a wide margin.
Honest con: less secure and can shift, so it’s better for a casual, laid-back look than a precise pattern.
Step-by-Step Instructions
- Plan your layout. Decide the look before you touch adhesive to wall: a draped design along your headboard, a twinkling wall border, or a canopy for a backyard. Measure and mark the key points first.
- Prep the surface. Clean the area so adhesive hooks or clips stick properly and come off without residue later.
- Attach the hanging supplies using whichever method fits your wall and timeline from the comparison above.
- Hang the lights, starting near a power source (or wherever batteries can be hidden), draping along your planned design. Wrap the cable taut around each hook for a neat look, or leave it loose for something more artsy and casual.
- Tidy the extras. If you’re plugged in, tuck extension cords or battery packs behind furniture or inside a decorative box.
- Test and adjust. Turn the lights on, step back, and fix any loose or uneven sections before you call it done.
Creative Ways to Hang Your Fairy Lights
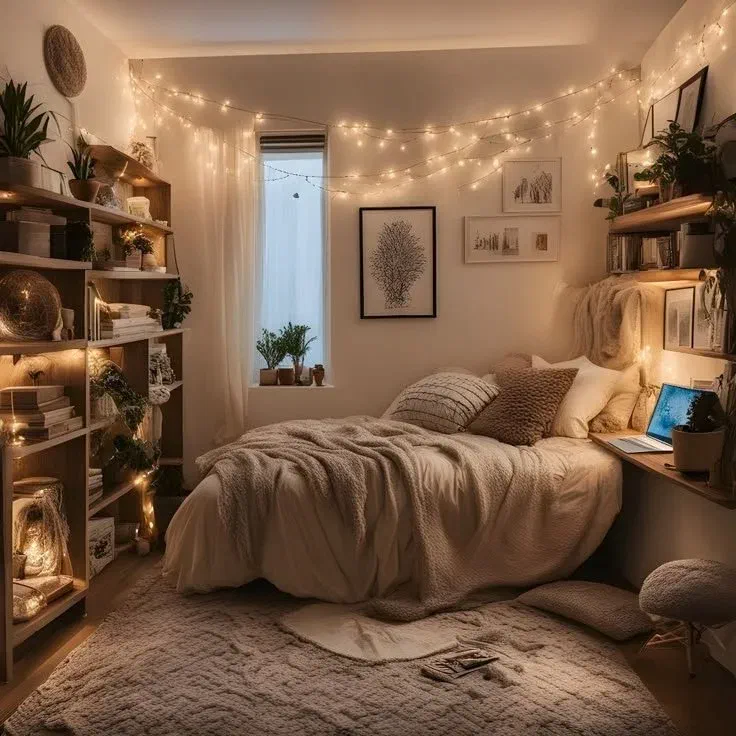
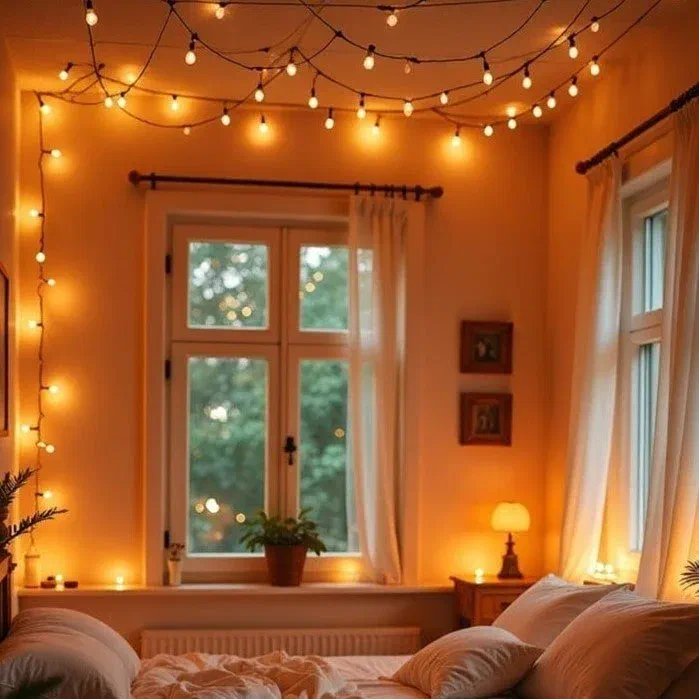
Bedside glow. Drape lights around your headboard or along the edge of your bed for a cozy, starry feel.
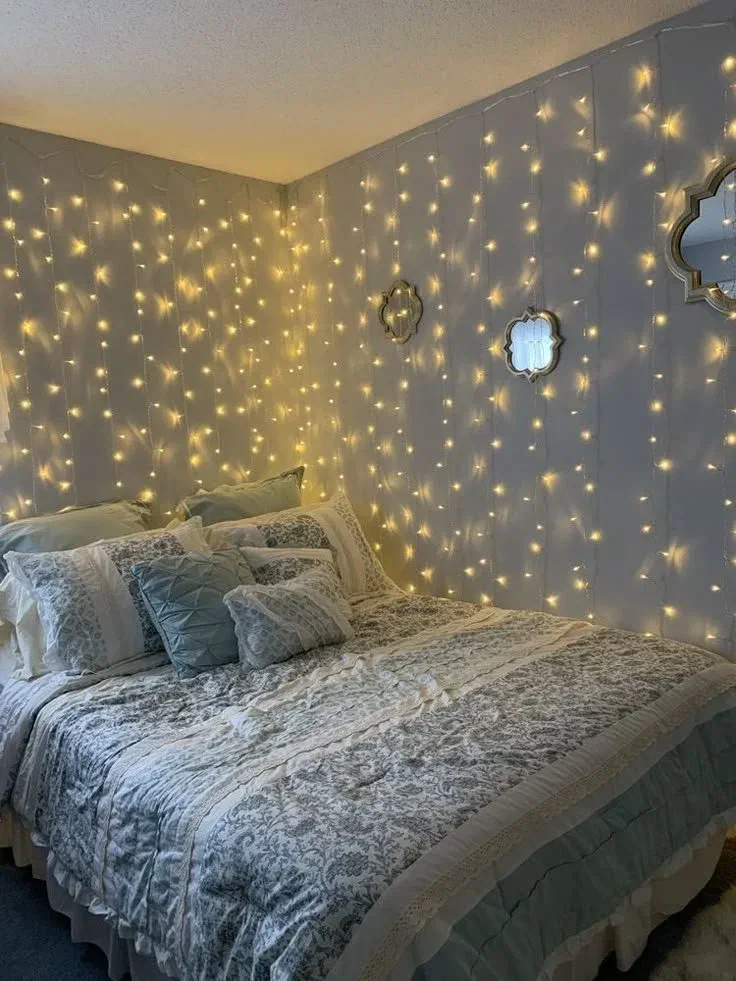
Wall decor magic. Outline a wall, frame a mirror, or shape a design like a heart or star, a nice backdrop for photos. If you want the full glowing-wall look rather than a single outlined shape, I’d reach for curtain-style fairy lights instead of a single strand: they’re a grid of drops on one run, so the effect reads as a backdrop rather than an accent. Honest con: this only looks intentional across a full run; half a curtain of lights on a partial wall looks unfinished rather than styled, so measure your space before you buy.
Buy the HXWEIYE Fairy Curtain Lights on Amazon
Curtain-style sets are their own buying decision with size and power-source trade-offs worth knowing before you pick one; I break those down in my best curtain lights guide.
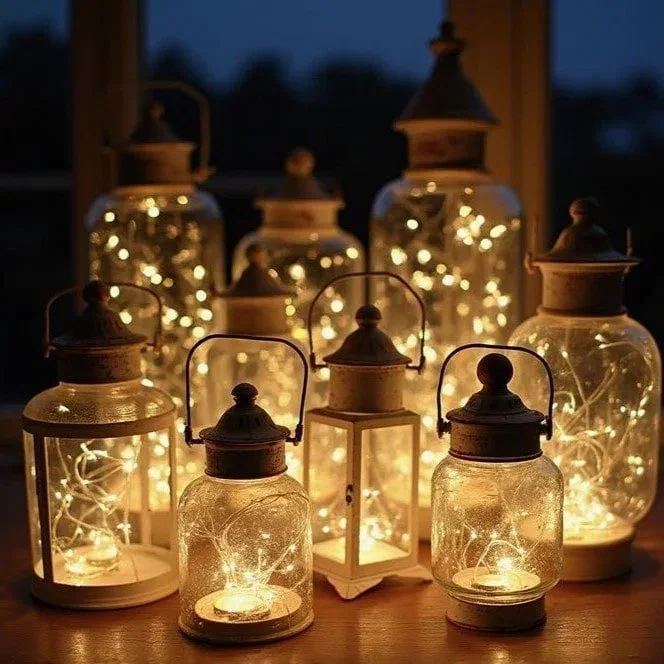
Fairy light jars. Fill mason jars with battery-powered lights for a low-effort centerpiece on a shelf, table, or porch.
Outdoor enchantment. Wrap lights around trees or drape along a fence for a whimsical evening backyard.
Safety and Maintenance Tips
- Stick with LED. They stay cool to the touch, which meaningfully cuts fire risk versus older incandescent mini-lights, and they cost almost nothing to run.
- Secure your cords. Fasten wires neatly, especially anywhere people walk, so nothing becomes a trip hazard.
- Check before you install. Inspect lights and hanging materials for damage first; replace anything frayed or cracked rather than hoping it holds.
- Don’t overload outlets. Use extension cords and timers sensibly and follow the manufacturer’s guidance for how many sets can share a circuit.
Photo Tips for Capturing Your Sparkle
- Golden hour helps. Shoot during early morning or late afternoon for warm, natural tones alongside the lights.
- Try long exposure at night. A tripod and a longer shutter speed capture the twinkle in a way a quick phone snap won’t.
- Change your angle. A close-up on a draped string over a window reads differently than a wide shot of the whole room. Try both.
Final Thoughts
Hanging fairy lights is one of the easiest, lowest-risk decor projects there is. The honest hierarchy: Command strips/hooks for anything longer-term on a wall you can’t damage, pins if you own the wall and want the strongest hold, and tape or blue tack only for a look you’re taking down within the week. Pick the method that matches how long you actually want the lights up, not just what’s already in the drawer, and the install takes minutes either way.
For picks on which lights to buy in the first place, see The Best Fairy Lights for Bedrooms, and for the fuller room-by-room approach, my Guide to Bedroom Lighting.
Fairy Light Hanging FAQs
Can you hang fairy lights with tape without damaging the paint? Painter’s tape is the safest tape option for paint (it’s designed to come off cleanly), but it’s also the weakest hold of any method in this guide, good for a few days at most. Regular Sellotape holds a little better short-term but is more likely to pull paint off on removal. For anything you want up longer without paint risk, Command strips are the better trade-off.
What’s the best way to hang fairy lights without nails or drilling? Command strips or hooks are the best no-drill option for most walls: they hold real weight, come off cleanly, and last for months rather than days. Adhesive cable clips are the better no-drill choice specifically if you’re routing a long run neatly along a photo wall rather than just anchoring a single point.
Do Command strips actually hold fairy lights long-term? Yes, as long as you match the hook’s rated weight class to your light set (fairy lights are almost always light enough for the lowest-duty strip), press firmly for the full 30 seconds during install, and stick to a smooth, clean surface; textured walls and wallpaper are the main case where they underperform.
How do I hang fairy lights so they look neat instead of messy? Plan the layout and mark your points before you stick anything up, keep the cable taut with a hook or clip every few inches on a formal design, and hide the plug or battery pack behind furniture. A loose, deliberately draped look only reads as intentional if the slack is even. Uneven sagging is what makes a fairy-light install look accidental rather than styled.